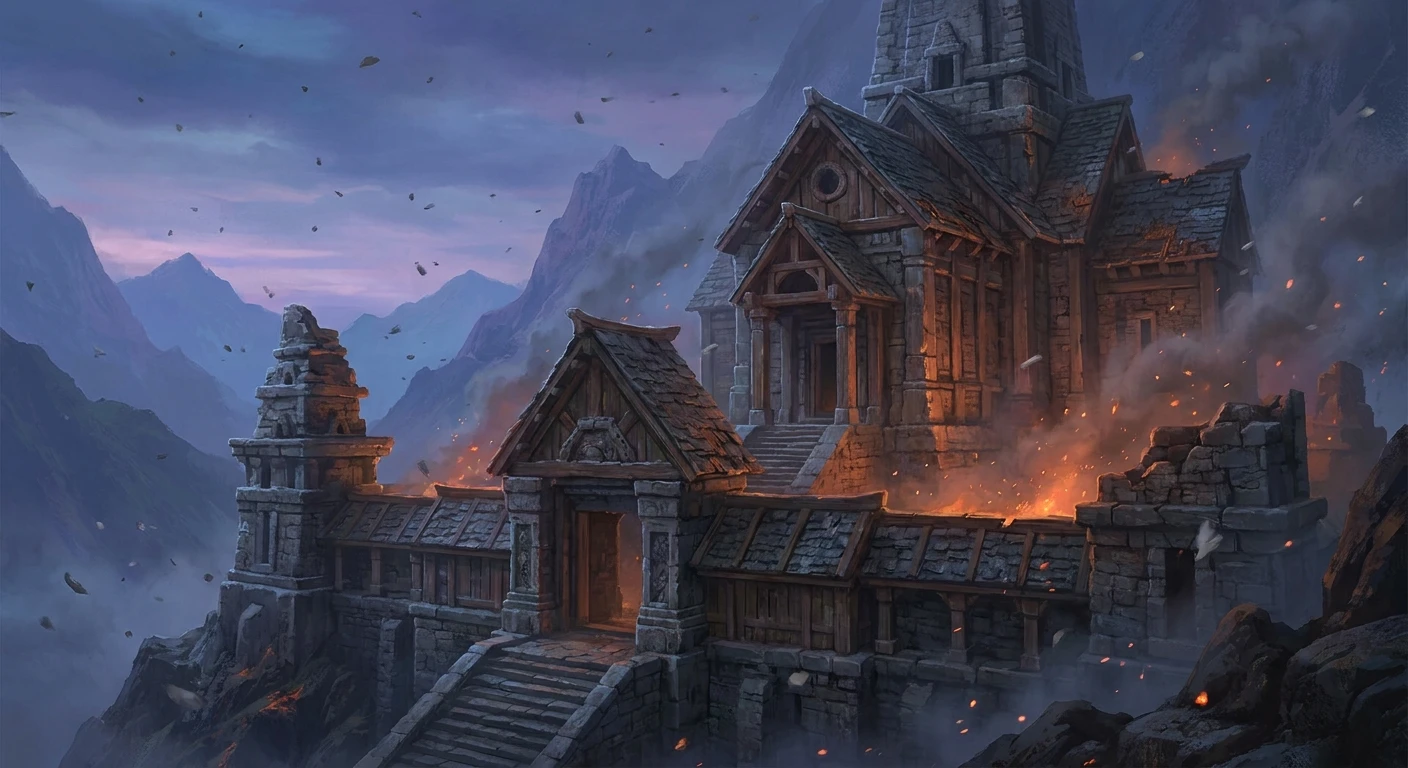
Mastering the Secrets of the Shrine of Ash
Navigating the Shrine of Ash requires more than just basic reflexes; it demands a solid understanding of timing, mechanics, and resource management. Whether you are aiming for high-tier loot or simply trying to complete the main storyline, hitting a wall at this specific location is a rite of passage for many players. You need a reliable strategy to get past the relentless environmental hazards and complex enemy pathing that define this area. This guide breaks down exactly how to conquer every aspect of the zone, giving you the edge you need to succeed. As we push through 2026, the game’s evolving meta means old tactics might leave you stranded, so updating your approach is absolutely essential. The layout forces you to adapt constantly, shifting from aggressive crowd control to precise, evasive maneuvers in a matter of seconds. We are going to look closely at the underlying mechanics, the optimal routes, and the exact loadouts that make surviving this gauntlet completely manageable. You will learn how to read the visual cues, anticipate the environmental shifts, and maximize your damage output without leaving yourself vulnerable. It is all about turning a chaotic situation into a predictable, farmable sequence. By the time you finish reading, you will have a clear, actionable roadmap to clear the zone efficiently, grab the best rewards, and help your teammates do the same.
Core Mechanics and High-Value Strategies
Getting the most out of the Shrine of Ash means understanding the constant risk-reward dynamic baked into its design. The environment itself acts as a secondary antagonist, with periodic ember storms draining your stamina and reducing visibility. You have to balance your pacing, pushing forward when the air clears and taking cover when the hazard level spikes. The main benefit of mastering this area is access to exclusive crafting materials and high-stat gear that you simply cannot farm anywhere else. For example, the Charred Core fragment drops almost exclusively here, providing a massive boost to your defensive crafting recipes. Another major advantage is the experience multiplier tied to the central altar; activating it grants a buff that scales with the number of enemies you defeat within the zone. However, failing to manage the ember storms will rapidly deplete your healing resources, leaving you entirely exposed when the heavy hitters spawn. You need to approach the area with a calculated plan, treating every movement as a deliberate choice rather than a chaotic scramble.
Read also: Survive the blood stained shrine Today; Master the secrets of the shrine in shadow.
To help you prepare, here is a breakdown of the primary hazards, their frequency, and the exact counter-strategies you should employ:
| Hazard Type | Frequency & Duration | Optimal Counter-Strategy |
|---|---|---|
| Ember Storms | Every 3 minutes, lasts 30 seconds | Equip high fire-resistance gear and seek cover behind the obsidian pillars. |
| Ash Stalkers | Continuous ambient spawns | Use area-of-effect crowd control to manage numbers before they swarm. |
| Thermal Vents | Static locations, erupt every 15 seconds | Memorize the grid pattern and time your dashes between eruptions. |
Preparation is non-negotiable. You cannot just walk in and expect to wing it. Follow these steps to ensure you are ready:
- Optimize your loadout: Equip items that maximize stamina regeneration and provide passive fire resistance. Leave the heavy, slow-moving armor in your stash.
- Stock up on consumables: Bring plenty of cooling draughts and quick-heal potions. You will need them to counteract the ambient heat damage.
- Map your route: Study the layout and identify the fastest paths between cover points. Movement efficiency is your best defense.
History and Origins of the Zone
The Ancient Architects
The lore surrounding this location adds a massive layer of depth to the experience. Long before it became a dangerous hazard zone, it was constructed by an ancient guild of elementalists who sought to harness the geothermal power of the region. They built massive stone structures designed to channel heat and energy, creating a thriving hub of magical research. The architecture reflects a deep understanding of elemental balance, with intricate carving lining the walls that still glow with residual energy. Understanding this original purpose helps explain why the layout feels so deliberate; it was not designed as a trap, but rather as a highly functional engine of power. The original builders left behind fragments of their research, which you can still find scattered throughout the ruins, offering insight into their advanced techniques.
The Cataclysmic Shift
The transition from a thriving hub to a wasteland of embers did not happen overnight. According to the environmental storytelling and scattered lore fragments, a massive miscalculation during a high-tier summoning ritual caused the central reactor to fracture. This event flooded the entire complex with unstable thermal energy, instantly vaporizing the inhabitants and leaving behind the permanent ember storms we see today. The remaining structures were warped by the intense heat, creating the jagged, unpredictable terrain you have to navigate. The sheer scale of the disaster is evident in the fused stone and the ambient ash that never settles. This background explains why the enemies you face are often corrupted elemental spirits; they are the lingering echoes of that original, disastrous event.
The Modern State
Fast forward to the current state of the game, and the location has become a premier destination for high-level players. Developers have continuously tweaked the area, adding new layers of complexity and scaling the difficulty to keep it relevant. What started as a static hazard zone has evolved into a dynamic environment where the threats shift based on server-wide events. The introduction of shifting thermal vents and elite roaming bosses has forced players to constantly update their strategies. The area remains a testament to the game’s ongoing narrative, serving as a brutal reminder of the past while offering some of the most lucrative rewards available in the current patch cycle. It stands as a perfect example of how lore and gameplay mechanics can intertwine to create a truly memorable experience.
Technical Deep Dive: Under the Hood
Spawning Algorithms and RNG Mechanics
To truly master this zone, you need to understand the backend systems dictating enemy behavior and environmental hazards. The game engine uses a sophisticated dynamic spawning algorithm that adjusts based on player density and threat level. This is not a simple fixed-timer system. Instead, the server calculates an aggro-weight for every player in the instance. If you sprint through the main courtyard aggroing multiple mobs, the backend heat-map registers a spike in activity and triggers an accelerated spawn rate for the Ash Stalkers. Furthermore, the ember storms operate on a pseudo-random number generation (PRNG) seed. While the average time between storms is three minutes, the PRNG system ensures that consecutive storms can occasionally happen within a much shorter window to prevent players from relying entirely on static stopwatches. You have to watch the particle density in the air; when the engine increases the particle count of falling ash, it is a hard-coded visual cue that a storm script is executing.
Collision and Pathfinding Systems
The physical layout is deceptively complex due to the way the engine handles collision detection and enemy pathfinding. The terrain features numerous micro-obstacles—jagged rocks, uneven stairs, and debris—that utilize complex hitbox geometry. Enemies are programmed with a NavMesh system that allows them to flank you efficiently, avoiding direct lines of sight when you aim ranged weapons.
- NavMesh Optimization: Mobs use an A* pathfinding algorithm that dynamically updates when thermal vents erupt, meaning they will actively route around environmental damage just like a player would.
- Line of Sight (LoS) Calculation: The pillars provide true LoS breaks, temporarily wiping your threat generation if you stay hidden for more than 4.5 seconds.
- Tick Rate Syncing: Environmental damage applies on a 0.5-second server tick rate. Timing your healing consumables precisely between these ticks can negate the animation lock penalty.
- Hitbox Adjustments: Boss enemies have segmented hitboxes, meaning attacks aimed at their glowing joints deal 1.5x critical damage due to specific vulnerability tags in the code.
A 7-Step Plan for Clearing the Zone
Step 1: The Gear and Consumable Check
Before you even step foot inside, you need to verify your inventory. Ensure your fire resistance is capped and that you have at least 20 cooling draughts mapped to a quick-select button. Check your weapon durability; the high enemy density means you will burn through durability twice as fast as in a standard zone. Do not enter without a fully repaired primary and a reliable secondary weapon.
Step 2: Securing the Outer Courtyard
The moment you enter, stick to the left wall. The central path is a kill box designed to strip your shields immediately. Use the rubble on the left for cover and systematically eliminate the scout enemies before they can alert the larger groups. Your goal here is silent, efficient progression to maintain a low aggro profile.
Step 3: Navigating the Vents
As you approach the mid-section, the thermal vents become the primary threat. Do not rush. Watch the eruption pattern for two full cycles. The vents operate on a synchronized grid, usually erupting in a checkerboard pattern. Time your sprints diagonally across the grid immediately after an eruption to ensure you have the maximum safe window.
Step 4: Surviving the First Ember Storm
Right around the time you pass the vents, the first ember storm will likely trigger. The air will turn thick and orange. Immediately drop behind one of the large obsidian pillars. Do not attempt to fight during this phase; your visibility is zero and your stamina drain is doubled. Wait it out and heal up.
Step 5: Breaching the Inner Sanctum
Once the storm clears, push aggressively into the inner sanctum. This area features heavy mob density but also contains the primary loot chests. Use wide area-of-effect attacks to clear space, and focus entirely on maintaining your mobility. If you get pinned against a wall here, you will not survive the crossfire.
Step 6: Defeating the Guardian
The area boss spawns as soon as you touch the central altar. The key to this fight is managing the adds. The boss will constantly summon smaller enemies to distract you. Keep moving in a circular pattern around the arena, dealing damage to the boss with quick, focused strikes while using your AoE abilities to keep the smaller enemies at bay. Watch for the boss’s heavy wind-up animation, which signals a massive cone attack.
Step 7: Loot Extraction and Exit
Once the boss falls, grab your loot quickly. The environment does not stay safe for long; a localized collapse sequence begins exactly two minutes after the boss dies. Follow the glowing blue markers on your HUD to find the fastest extraction tunnel. Sprint past any remaining enemies and do not stop until you hit the loading screen.
Myths and Reality
There is a lot of misinformation floating around community forums about how this zone operates. Relying on bad intel will just get you sent back to the respawn screen.
Myth: You can completely avoid the ember storms by hugging the perimeter walls.
Reality: The storm’s area of effect covers the entire instance. The walls provide zero protection against the ambient stamina drain. You must use the specific obsidian pillars to break line of sight with the wind direction.
Myth: The central boss drops better loot if you defeat him without taking damage.
Reality: Loot tables are strictly governed by RNG and your equipped luck stat. Taking damage has absolutely no impact on the quality or quantity of items that drop.
Myth: Thermal vents deal less damage if you jump over them instead of running.
Reality: The vertical hitbox of the vent eruption extends far beyond your maximum jump height. Jumping actually locks you into an animation, making you take full damage without the ability to dodge.
Myth: Dropping aggro completely resets the area timer.
Reality: The instance timer is fixed the moment you enter. Dropping aggro only resets enemy pathing, not the environmental hazard cycles.
Frequently Asked Questions
What level should I be before entering?
You should aim to be at least five levels above the recommended zone requirement. The environmental damage scales aggressively, and being under-leveled means you will likely get one-shot by the heavier mechanics.
Can I solo this area?
Yes, but it requires near-perfect execution. Bring a build focused on self-sustain and high mobility. Group play is generally recommended for efficiency and faster farming.
Do the loot chests respawn?
The standard chests respawn daily, but the high-tier chests tied to the central altar only reset on the weekly server maintenance schedule.
What is the best weapon type to use?
Fast-attacking weapons like dual daggers or short swords are ideal. You need to be able to strike quickly and immediately cancel into a dodge roll to avoid the environmental hazards.
How do I increase my fire resistance?
Farm the lesser elemental zones first to gather basic flame-retardant materials, then craft the specialized armor set at the main city hub before attempting this run.
Is there a shortcut to the boss?
No direct shortcuts exist, but utilizing the left-wall path described in the guide cuts your travel time by avoiding the highest density mob spawns.
What happens if I die during the boss fight?
You will respawn at the checkpoint just outside the inner sanctum, but the boss’s health will completely reset. Make sure your gear is repaired before re-engaging.
Mastering the Shrine of Ash is a challenging but incredibly rewarding experience. By understanding the mechanics, preparing adequately, and following a structured plan, you can turn a frustrating bottleneck into a highly profitable farming route. Gear up, memorize the vent patterns, and dive in—the rewards are absolutely worth the effort.



Leave a Reply