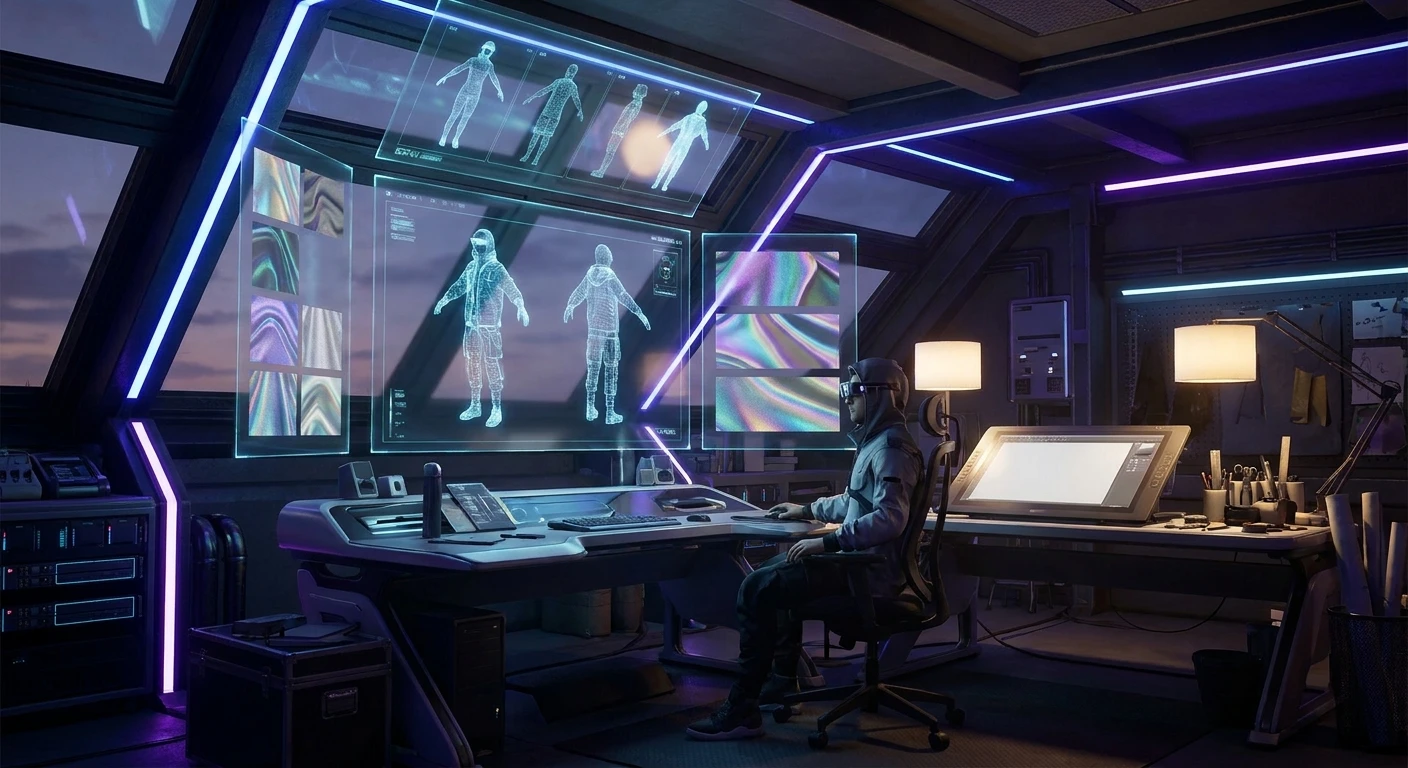
The Complete Guide to the inZOI Demo Experience
If you have been eagerly tracking the next generation of life simulation games, the inZOI Demo stands as a pivotal moment in gaming history. You already know how stagnant the life sim genre felt for over a decade. Players were begging for innovation, superior graphics, and deeper customization. Krafton answered that call by dropping a massive trial that completely redefined industry expectations. This specific release, officially known as the Character Studio, allowed players worldwide to test the extreme limits of digital human creation before the full game hit the shelves.
Instead of delivering a simple, locked-down teaser, the developers provided an expansive sandbox of artistic tools. The community immediately got to work, crafting eerily accurate celebrity lookalikes, recreating themselves, and pushing the Unreal Engine 5 mechanics to their absolute breaking point. It was a massive stress test not just for Krafton’s servers, but for the creative boundaries of the player base. The sheer volume of shared creations proved that the market was starving for a high-fidelity alternative in the simulation space. Whether you are a casual fan of architectural building games or a hardcore digital fashion designer, understanding how this specific trial functioned provides crucial insight into the future of the franchise.
Read also: How to Pre Order GTA 6: Complete Guide to Editions & Bonuses; Analyzing the GTA 6 Gameplay Trailer Highlights.
Core Mechanics and Customization Benefits
The primary draw of the trial was the unprecedented level of control granted to the player. Unlike older games that relied on basic sliders or pre-made facial presets, this software introduced micro-mesh manipulation. You could select incredibly specific areas of the face—like the outer orbital bone or the tip of the philtrum—and drag them in three-dimensional space. The value proposition here was clear: complete and total aesthetic freedom. For instance, players could easily replicate the exact asymmetrical facial features of famous actors, which is something previously only achievable through third-party modifications.
Another massive benefit was the fabric and material system. If you found a shirt you liked but hated the texture, you could swap the material from cotton to leather, and the game engine would recalculate how the light bounced off the garment and how the physics handled the weight of the cloth. You could fine-tune a heavily distressed denim jacket or design a perfectly pristine silk evening gown right out of the gate.
| Feature | Demo Implementation | Player Benefit |
|---|---|---|
| Facial Sculpting | Micro-mesh drag-and-drop mechanics | Absolute control over character likeness and micro-expressions |
| Fabric System | Real-time pattern and material swapping | Endless wardrobe customization without needing external software |
| Studio Lighting | Dynamic HDR lighting environments | Accurate previews of how your character will look during actual gameplay |
To truly maximize your time with the creation tools, you had to understand a few fundamental rules of the engine. The developers built these systems to scale, meaning you could go as deep or as shallow as you wanted. If you were looking to get the most out of the software, you needed a strategy.
- Push the asymmetrical sliders to their absolute limits to create highly realistic, imperfect faces rather than symmetrical mannequins.
- Test your completed character across all four dynamic lighting environments to ensure the skin tones look natural at night, at high noon, and indoors.
- Export and sync your final designs to the proprietary Canvas platform so they remain available for the full retail release.
Origins of the Life Simulation Shift
The conversation around this project started well before any playable code was available. When Krafton first teased the project at international gaming conventions, many industry veterans were highly skeptical. The life simulation market had been dominated by a single giant for twenty years, and previous challengers had either pivoted their focus or canceled their projects entirely due to the sheer complexity of simulating daily human life. The initial trailers showcased mind-bending graphics, causing some critics to claim the footage was pre-rendered rather than actual gameplay. The developers knew that the only way to silence the doubts was to put the tools directly into the hands of the community.
Evolution of the Character Studio
By the time August 2024 rolled around, Krafton made the strategic decision to release the Character Studio as a standalone, limited-time trial on Steam. This was a brilliant move. Instead of worrying about pathfinding bugs, artificial intelligence routing, or complex architectural rules, the team isolated the most polished aspect of their engine: the character generator. It evolved from an internal developer tool into a highly optimized, user-friendly interface. Players who had never touched a 3D modeling program suddenly found themselves executing professional-level character rigging just by moving their mouse across the screen.
The Modern State of the Demo Platform
The immediate aftermath of the release saw the Canvas servers completely overloaded. Hundreds of thousands of characters were uploaded within the first forty-eight hours. The community’s response actively shaped the final stages of the game’s development. Krafton gathered massive amounts of telemetry data regarding which clothing items were most popular, which hairstyles needed better physics tuning, and how mid-range graphics cards handled the high-fidelity textures. Today, the legacy of that initial trial lives on through the massive archive of community-created Zois that stand ready to populate the world upon the final game’s launch.
Scientific and Technical Deep Dive
Running a simulation of this magnitude requires serious computational horsepower and a fundamentally different approach to rendering. Traditional life sims use baked lighting and low-polygon meshes to allow dozens of characters to exist on screen simultaneously. Krafton threw that playbook out the window by building their foundation entirely on Unreal Engine 5. This engine utilizes advanced geometry pipelines that allow for movie-quality assets to run in real-time. Even though the trial only rendered a single character and a simple background, it was utilizing complex background calculations to make the Zoi look alive.
Unreal Engine 5 Rendering Mechanics
At the heart of the visual fidelity is the Lumen illumination system. Lumen calculates how light bounces off surfaces in real-time. If your character wore a bright neon pink shirt, the light hitting that shirt would reflect a faint pink hue onto the character’s chin and neck. This localized global illumination removes the flat, plastic look that plagues older character creators. Additionally, the skin shaders utilized advanced subsurface scattering. This means the engine calculates light penetrating the top layer of the skin, bouncing around inside the tissue, and exiting, which gives the character’s face a soft, natural glow—especially noticeable around the ears and nostrils when backlit.
AI-Driven Textures and Physics
Beyond the lighting, the physics systems operating in the background were incredibly dense. The trial featured strand-based hair rendering, meaning the engine wasn’t just moving a solid block of texture; it was calculating gravity and wind resistance for individual clumps of hair follicles. The clothing tension system constantly calculated where fabric should stretch and where it should fold based on the character’s posture.
- Ray-traced reflections applied dynamically to glossy surfaces like eyeballs, leather shoes, and metallic jewelry.
- Strand-based hair physics calculating individual follicle gravity and collision with the character’s shoulders and back.
- Real-time fabric tension scaling that dynamically generates wrinkles based on joint movement and cloth weight.
- Volumetric subsurface scattering designed specifically for diverse, realistic human skin tones and hyper-pigmentation.
Actionable Step-by-Step Character Creation Plan
Getting overwhelmed by the sheer number of options is incredibly common. When you have hundreds of sliders and color wheels staring back at you, it is easy to end up with a character that looks like an alien rather than a human. To construct the perfect Zoi, you need a disciplined, step-by-step approach. Follow this structural plan to master the creation tools.
Step 1: Establish the Foundational Blueprint
Always start by selecting a base preset that roughly matches the ethnic and bone-structure goals you have in mind. Do not worry about the hair or clothes yet. Strip the character down to a basic outfit and pull the hair back into a tight ponytail. This gives you a clear, unobstructed view of the facial structure. Adjust the overall skull width, jawline height, and cheekbone depth before you even think about touching the eyes or mouth.
Step 2: Sculpting the Facial Micro-Proportions
Once the skull is set, zoom in and use the micro-mesh tools. Focus on the spacing between the eyes, the bridge of the nose, and the fullness of the lips. The golden rule of character design is asymmetry. Perfectly symmetrical faces look robotic. Slightly lower one eyebrow, make one side of the jaw a millimeter wider, or adjust the angle of the nose slightly. These tiny imperfections are what trigger the human brain to recognize the character as real.
Step 3: Calibrating Subsurface Skin Pigmentation
Move to the skin detailing tab. You are not just picking a base color here; you are building the history of the character’s skin. Add subtle redness around the nose and cheeks to simulate blood flow. Apply faint freckles, beauty marks, or slight hyper-pigmentation under the eyes to indicate tiredness or age. Adjust the glossiness slider so the skin looks hydrated but not completely coated in oil.
Step 4: Styling and Physics Tuning for Hair
Now that the face is fully sculpted, you can release the hair. Choose a style that complements the jawline you built. Because the engine uses strand-based physics, you can often adjust the length, curl intensity, and volume independently. Pay close attention to the root color versus the tip color. Adding a slight color gradient makes the hair look naturally sun-bleached rather than artificially dyed.
Step 5: Wardrobe Selection and Material Swapping
Navigate to the clothing menus. Instead of just accepting the default colors, utilize the material swapping tool. You can take a basic cotton t-shirt and change it into a ribbed knit sweater or a shiny synthetic athletic top. Layering is crucial here. Make sure the under-layers do not clip aggressively through the jackets or coats. Use the color wheel to establish a cohesive palette for the entire outfit.
Step 6: Testing Lighting and Expressive Animations
Never consider your character finished without running them through the studio’s animation and lighting tests. Cycle through the different lighting setups—daylight, studio spotlights, and nighttime ambient light. Trigger the smile, frown, and anger animations. Sometimes a face looks great resting but completely falls apart and warps strangely when the character smiles. Make micro-adjustments to the cheeks and mouth corners if the smile looks unnatural.
Step 7: Uploading and Archiving on Canvas
The final and most crucial step is saving your work properly. Connect your Krafton account and upload the finished Zoi to the Canvas server. Add relevant tags so other players can find your creation. By securing your design in the cloud, you guarantee that this character will be ready and waiting for you on day one of the full game’s launch.
Myths and Reality
Whenever a highly anticipated project drops a playable trial, rumors and misinformation spread like wildfire across forums and social media. Let’s clear up some of the most persistent misunderstandings about this specific software release.
Myth: The software required a high-end supercomputer to even launch properly.
Reality: While the engine is undeniably demanding, the developers included aggressive scaling options. Mid-range systems could run the creator smoothly by relying on upscaling technologies and lowering the shadow resolution.
Myth: You could build houses and test architectural tools in the trial.
Reality: The initial trial focused exclusively on character generation and clothing customization; all architectural, buying, and building tools were strictly reserved for the full retail release.
Myth: All characters created during the trial period would be permanently wiped after the servers closed.
Reality: Everything saved and uploaded to the proprietary Canvas network was permanently archived and tied to your account, carrying forward seamlessly to the final game.
Myth: The game was fully open-world during the character testing phase.
Reality: The entire experience was contained within a static studio room. There was no walking around or interacting with a broader city environment.
Frequently Asked Questions
Is the trial software still available to download?
The initial Character Studio was released as a limited-time event. Unless Krafton reactivates the servers or drops a new updated client, the original application is no longer actively available for new downloads on Steam.
Can I run the software on a Mac operating system?
Currently, the engine and the associated tools are strictly optimized for Windows PC environments. There has been no official support or native client released for Apple Silicon or older Intel Macs.
Did I need an internet connection to use the creator?
Yes, a persistent internet connection was required. The software constantly communicated with the Canvas servers to stream textures, verify account details, and upload finished designs to the community hub.
Are user-generated mods supported in this version?
During the official testing window, third-party mods were not officially supported. The developers locked down the directory to prevent game-breaking bugs and to ensure the telemetry data remained pure and uncorrupted.
How many different characters could I save to my account?
There was virtually no strict limit on the number of designs a single user could generate and upload to the Canvas platform, allowing players to build entire neighborhoods of customized families.
Was there a time limit on how long I could keep the application open?
Once you launched the client, you could spend as many hours as you wanted perfecting your designs. The only time limit was the calendar date when the global servers were officially taken offline.
Did the creation suite include options for customizing pets?
No, the studio was exclusively focused on human avatars. While pets are planned for the broader simulation ecosystem, they were completely absent from this specific slice of the software.
The era of settling for low-resolution, cartoonish avatars is officially over. The inZOI Demo proved that the technology exists to bring hyper-realistic, emotionally expressive characters to the life simulation genre. If you missed the initial testing window, do not worry—the massive database of community creations proves the final game will be packed with artistic potential. Ready to test your own design skills? Keep your eyes locked on the official Canvas hub and prepare your ultimate character concepts for launch day!


Leave a Reply