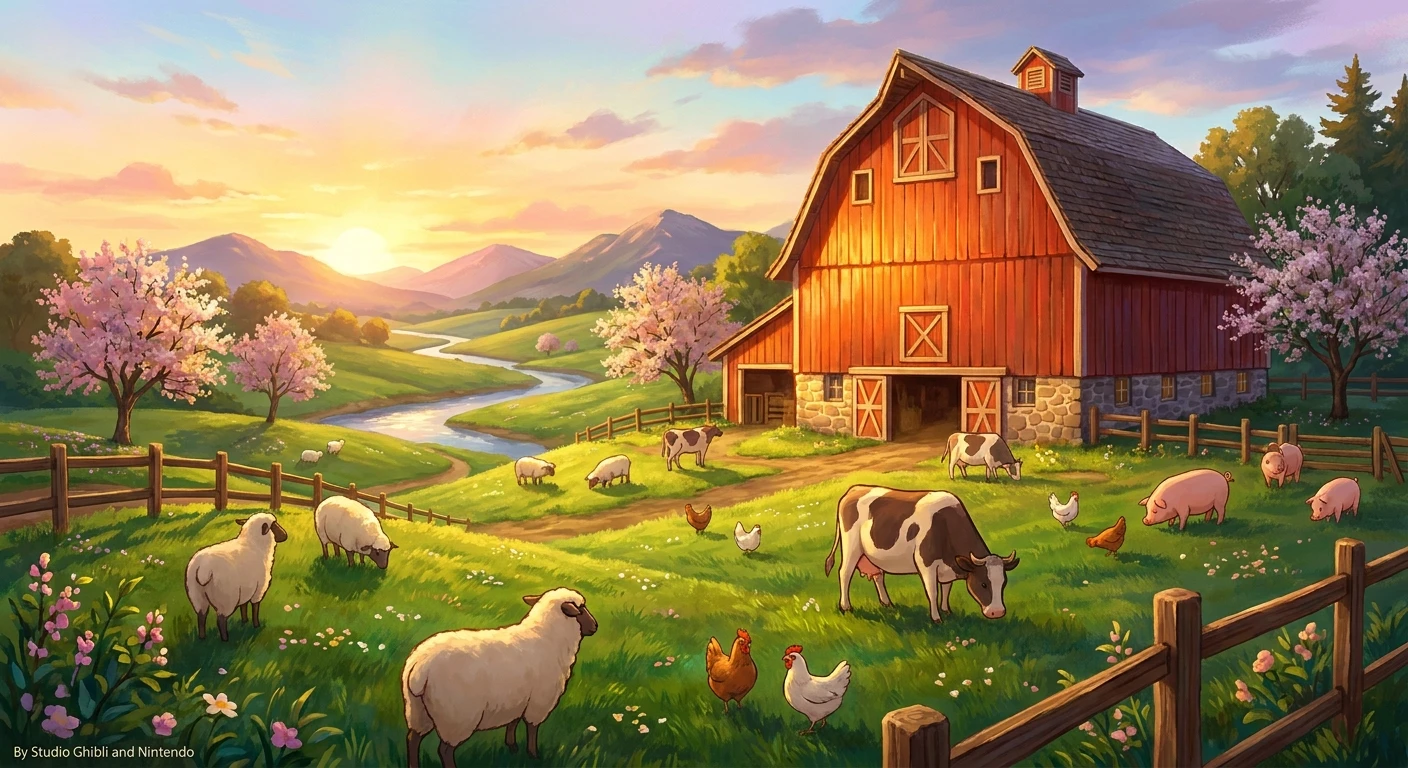
Mastering the Barn Stardew Farm Layout
Constructing your first Barn Stardew building marks a major milestone in your Pelican Town adventure. Establishing a steady stream of artisan goods requires solid infrastructure, and this agricultural powerhouse provides exactly what you need. From housing standard dairy cows to eventually sheltering exotic ostriches, mastering animal husbandry accelerates your economic growth exponentially. The initial investment might seem steep when you visit Robin at the Carpenter’s Shop, but the long-term payoff from cheese and cloth production easily outpaces standard crop farming during the winter months. Building this structure opens up an entirely different pacing for your daily routine. Instead of just watering crops and waiting for harvests, you interact directly with your livestock, managing their moods and optimizing their output. This comprehensive guide details how to plan, place, and upgrade this essential farm structure. You will learn the exact resource requirements, the mathematical mechanics behind animal friendship, and the daily schedules necessary to maximize your return on investment. Success in the valley depends heavily on diversification, and committing dedicated space to livestock guarantees you never run out of profitable goods to ship, regardless of the current season.
Strategic Expansion and Core Benefits
Understanding the tier progression of your livestock enclosure dictates the pace of your mid-game economy. Upgrading through the Basic, Big, and Deluxe tiers unlocks completely new avenues of profit and significantly reduces manual labor. The ultimate value proposition of these structures lies in their ability to convert cheap, easily accessible grass into high-value artisan goods. For example, mature pigs forage for truffles that can be processed into highly lucrative Truffle Oil, while standard cows produce large milk that converts into gold-star cheese. Furthermore, reaching the highest upgrade tier introduces the auto-feeder, a mechanical system that automatically distributes hay from your silos directly to the feeding bench, saving you precious hours every in-game morning.
Read also: Guide: How to Get Maple Syrup Stardew Valley; Geologist or Miner Stardew: Which Level 5 Profession Is Best.
| Building Tier | Resource Cost | Animal Capacity |
|---|---|---|
| Basic | 350 Wood, 150 Stone, 6,000g | 4 Animals (Cows, Ostriches) |
| Big | 450 Wood, 200 Stone, 12,000g | 8 Animals (+ Goats) |
| Deluxe | 550 Wood, 300 Stone, 25,000g | 12 Animals (+ Sheep, Pigs) |
To fully capitalize on these benefits, players must optimize their property layout. Maximizing efficiency requires careful spatial planning before you even purchase the initial blueprint.
- Clear a massive 7×4 tile area near a water source to allow for expansive grass growth without blocking vital walking pathways.
- Build at least one Silo before commissioning Robin to ensure you can immediately stockpile hay from scythed grass before winter arrives.
- Plant grass starters on the final day of winter so they dynamically explode into massive, self-sustaining patches on the first day of spring.
The Origins of Animal Husbandry in Pelican Town
Your agricultural journey begins by clearing debris from the overgrown plot inherited from your grandfather. The historical premise involves leaving the crushing corporate environment of Joja Corporation to rebuild this pastoral legacy. The initial structural choices mimic traditional farming origins, focusing heavily on raw material acquisition and basic livestock management. Early interactions require sheer dedication, forcing players to manually pull hay from the hopper and place it on the feeding bench piece by piece. This foundational grind establishes a deep appreciation for the automated systems unlocked later in the progression curve.
The Evolution of Barn Structures
As your profits multiply, the mechanics of livestock management evolve rapidly. Moving from the basic tier to the Big upgrade allows you to purchase goats, which introduce a new scheduling challenge since they only produce milk every other day. The Deluxe tier shifts the entire economic landscape by unlocking sheep and pigs. Crucially, the structural footprint remains exactly the same 7×4 tile configuration throughout every single upgrade. Players never need to redesign their entire layout or destroy carefully placed fences to accommodate the larger capacity versions, showcasing a highly player-friendly design choice by the developer.
The Modern State of Farming Efficiency
Late-game strategies shift dramatically toward heavy industrial optimization. The introduction of Ginger Island brought the Ostrich Incubator, allowing seasoned players to hatch massive eggs directly inside their enclosures. Currently, veteran players often fill multiple deluxe structures entirely with pigs to maximize truffle oil production, radically altering the traditional mixed-animal aesthetic into a highly optimized profit engine. The addition of the Auto-Petter, acquired from rare Skull Cavern treasure rooms or purchased directly via the Joja Community Development Form, further streamlines operations, allowing players to maintain maximum friendship levels while spending their days exploring the dangerous Volcano Dungeon.
The Mathematics of Animal Production
Livestock output relies entirely on hidden mathematical variables tracking friendship and mood. The friendship system utilizes a 255-point scale, represented visually by five hearts. Each heart equates to exactly 51 points. Manual petting rewards the player with a +15 point boost daily. Successfully milking or shearing an animal grants an additional +5 points. Conversely, ignoring an animal results in a -5 to -10 point penalty, and leaving them completely unfed deducts a severe -20 points. Reaching higher friendship brackets directly increases the probability of receiving large milk, large goat milk, or high-quality wool, which subsequently boosts the quality of the processed artisan goods.
Technical Mechanics of Happiness and Friendship
Separate from friendship, the mood array functions on a daily 0 to 255 scale and dictates the exact quality of the dropped items. A high mood score is absolutely required to produce Iridium quality products or multiple truffles. Winter conditions naturally suppress mood, making specific equipment entirely mandatory for maintaining production quotas during snowy days.
- A successful pet action adds immediate value to both the hidden friendship counter and the daily mood integer.
- Animals trapped outside overnight lose a massive portion of their mood and face a distinct probability of triggering a wild animal attack event.
- Eating fresh grass outside boosts mood instantly to the maximum 255 value, far exceeding the benefits of eating dried hay indoors.
- Radiators placed inside the enclosure provide a significant mood boost during winter if the animal already possesses a baseline mood of 150 or higher after 6:00 PM.
- Truffle generation algorithms require open, unobstructed tiles; pigs simply cannot spawn truffles on tiles occupied by paths, weeds, or placed equipment.
Day 1: Resource Gathering Strategy
Begin your livestock expansion by dedicating an entire day to resource collection. Equip your upgraded axe and chop down wild trees in the Cindersap Forest until you accumulate exactly 350 wood. Switch to your pickaxe and hit the local mines to secure 150 stone. Ensure your wallet holds a minimum of 6,000g, selling off stockpiled crops or foraged items if necessary. Securing all materials in advance prevents wasted trips to the mountains.
Day 2: Commissioning the Foundation
Travel to the Carpenter’s Shop in the mountains between 9:00 AM and 5:00 PM. Speak to Robin and navigate her menu to select the construction blueprint. Carefully choose a 7×4 location on your property that avoids blocking main thoroughfares. Robin will arrive at your property immediately and begin hammering away at the wooden frame.
Day 3: Preparing the Surrounding Pasture
While Robin works continuously for two days, focus your energy on the surrounding environment. Clear away all rocks, fallen logs, and weeds within a ten-tile radius of the construction site. Craft a sturdy gate and dozens of wooden or stone fences. Establishing this perimeter early prevents wild grass from spreading out of control and keeps your future livestock safely contained within a designated grazing zone.
Day 4: Fencing and Grass Starters
Finalize the pasture by placing your crafted fences around the cleared perimeter. For a highly durable and functional alternative, place Lightning Rods instead of standard wooden posts, as they never decay and produce valuable Battery Packs during summer storms. Plant several grass starters directly underneath a few fence posts; the livestock cannot eat the grass on the occupied tile, turning it into an infinite feeder that spawns new grass daily.
Day 5: Purchasing Your First Animals
Once Robin completes the roof and departs, head straight to Marnie’s Ranch in the forest. Purchase two to four standard cows for 1,500g each. You will be prompted to name them; choose easily recognizable names or let the game generate humorous random ones. The calves will instantly teleport to their new home. Purchase a Milk Pail for 1,000g before leaving the shop.
Day 6: Establishing Daily Care Routines
Enter the enclosure immediately upon waking up at 6:00 AM. Walk up to each calf and interact with them to see the heart icon appear, signifying a successful petting action. Ensure your silo is adequately stocked so that hay dispenses onto the feeding bench. Once the calves mature into adults after a few days, begin equipping the Milk Pail daily to harvest their milk.
Day 7: Processing Artisan Goods
Raw milk offers terrible profit margins compared to processed goods. Utilize your accumulated wood, stone, copper bars, and hardwood to craft multiple Cheese Presses. Place these presses either inside the enclosure itself or in a dedicated nearby shed. Process every single jug of milk into cheese to instantly double your profit. Store high-quality gold-star cheese in your basement casks later in the game to achieve maximum Iridium value.
Understanding the actual mechanics of animal care requires separating confirmed programming facts from widespread community misconceptions.
Myth: Leaving animals outside overnight kills them instantly.
Reality: Unless they are locked out by a physically closed door, they will safely pathfind their way back inside at 5:00 PM. An animal is only at risk of a wild animal attack event if the door is shut while they remain trapped in the pasture overnight.
Myth: You must buy a heater for the spring and fall seasons to keep them warm.
Reality: Heaters only function and provide mood bonuses during the winter months. They remain completely dormant and offer absolutely no mechanical benefit during spring, summer, or fall.
Myth: The auto-petter replaces manual interaction perfectly without any downsides.
Reality: The auto-petter only prevents friendship decay and provides exactly half the points of manual petting. You still need to manually pet your livestock to reach five hearts quickly and efficiently.
Myth: Pigs will eagerly dig up truffles on rainy days if allowed outside.
Reality: Pigs flatly refuse to go outside on rainy days or during the entire winter season, meaning your highly lucrative truffle production halts completely under these specific weather conditions.
How much space does it take?
The footprint strictly requires a 7×4 grid of empty space, though you should allocate a significantly larger perimeter for outdoor grazing and fencing to keep the animals happy.
Can I move it later?
Yes, Robin at the Carpenter’s Shop or the Wizard at his tower can move the fully constructed building instantly at absolutely no cost to you.
What happens if I forget to feed them?
They will not die from starvation, but they will become extremely grumpy, completely stop producing goods, and suffer severe friendship point penalties until fed.
Do I need to buy a heater for each animal?
No, a single heater purchased from Marnie covers the entire interior square footage regardless of how many animals live inside the structure.
Can ostriches live with cows?
Yes, all compatible livestock types, including cows, goats, sheep, pigs, and ostriches, can happily share the exact same interior space without any conflict.
How do I get an auto-petter?
They are primarily discovered in random Skull Cavern treasure rooms, or they can be purchased directly for 50,000g from JojaMart if you actively chose the corporate development route.
Should I close the door at night?
Closing the door makes morning petting and milking much easier since the animals stay clustered closely together, but leaving it open permanently causes no harm whatsoever as long as they pathfind inside.
Establishing a robust livestock operation fundamentally shifts the economic trajectory of your playthrough. By carefully managing upgrades, understanding the underlying mathematical mechanics of friendship, and optimizing daily routines, players ensure a massive, uninterrupted flow of valuable artisan goods. Grab your upgraded axe, gather those essential resources from the forest, and visit Robin today to start maximizing your agricultural empire. Never let your fields sit empty when they could be generating immense passive income through thriving, well-cared-for livestock!



Leave a Reply