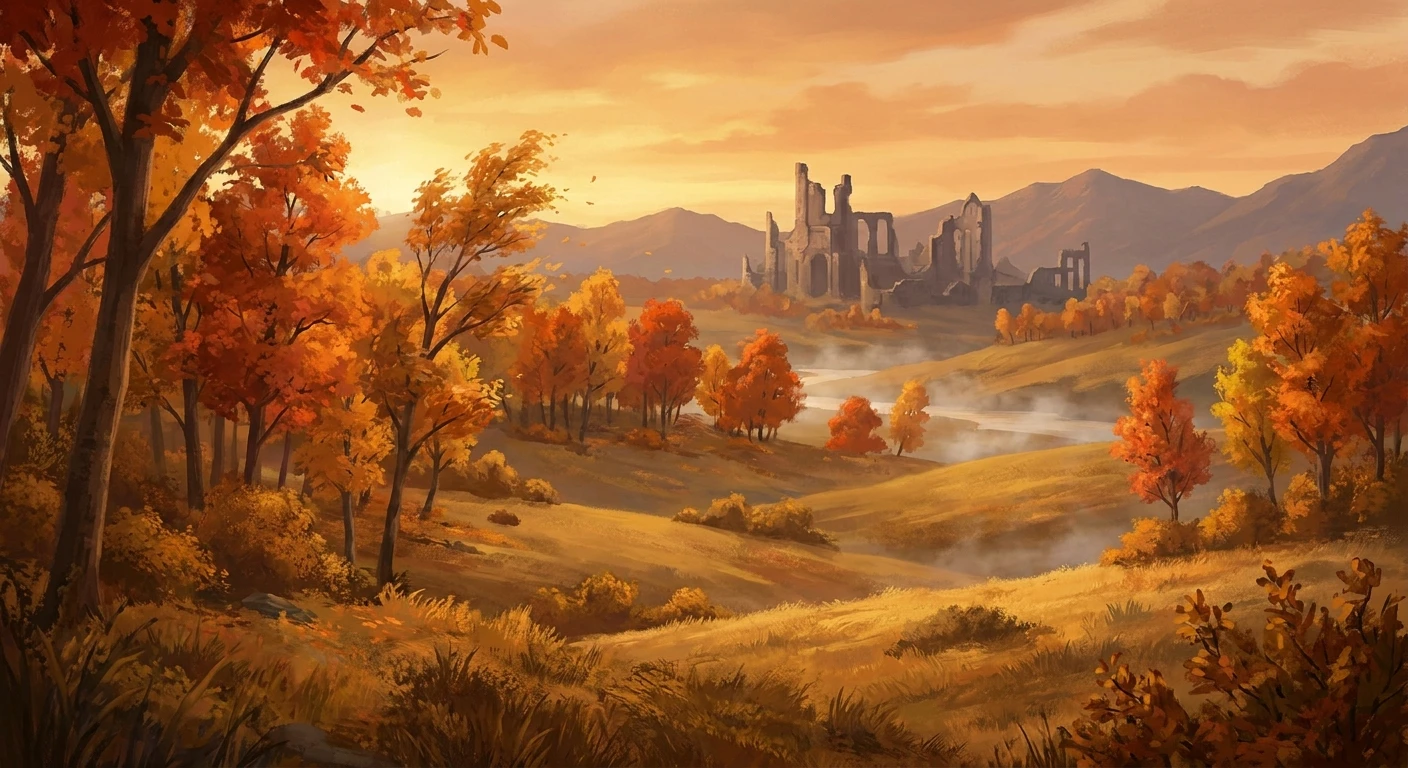
Surviving the Golden altus plateau
Stepping out into the sprawling, autumn-kissed fields of the altus plateau for the first time is an experience that stays etched in your mind forever. Honestly, getting there feels like waking up from a grim nightmare and suddenly finding yourself bathed in glorious, warm sunlight. I remember the exact moment I first reached this area. I was sitting in my Kyiv apartment during a rolling blackout, running my gaming setup off a massive eco-flow power bank just to keep my run alive. When the screen finally illuminated my pitch-black living room with those brilliant, golden hues and floating erdtree leaves, it felt like an actual breath of fresh air amidst the chaos outside.
That feeling of awe is entirely intentional, crafted meticulously by the developers to give you a sense of renewed hope before they completely crush you with a massive difficulty spike. You are officially leaving the grim swamps and crumbling starting zones behind and stepping into the mid-game, where enemies hit harder, move faster, and demand your absolute focus. My goal here is to guide you through this stunning but brutal landscape. If you want to survive the roaming knights, the terrifying watchdogs, and the sneaky assassins hiding in the foliage, you need a solid strategy. We are going to break down every single aspect of this region, from its sprawling geography to the hidden secrets that will make your character incredibly overpowered.
The core benefit of thoroughly exploring this upland region is the massive power leap it offers your character. This is the exact moment where the game stops handing out basic crafting materials and starts dropping top-tier upgrade items. Navigating this zone efficiently is critical because rushing blindly will get you completely obliterated by the heavily armored sentinels guarding the main roads. By carefully planning your route, you can secure items that completely change the dynamic of your playthrough.
For example, taking a slight detour toward the minor golden trees nets you crystal tears that provide massive passive buffs for boss fights. Another prime example is hunting down the hidden cave systems, which yield rare smithing stones capable of boosting your primary weapon damage by huge margins, making later encounters trivial. If you ignore these hidden corners, you will hit a massive damage wall later on.
To give you a quick overview of what to expect, here is a breakdown of the primary landmarks, their relative threat levels, and the crucial loot you can secure there:
| Landmark Location | Threat Level | Key Loot & Rewards |
|---|---|---|
| Windmill Village | Medium | Godskin Peeler, Incantations |
| Shaded Castle | High | Valkyrie’s Prosthesis, Briar Armor |
| Minor Erdtree Church | Low | Golden Seal, Sacred Tears |
Before you even step off the grand lift or emerge from the ruin-strewn mines, you must ensure your character is adequately prepared for the sudden jump in enemy aggression. Do not walk into this zone under-leveled.
- Level your Vigor: If you do not have at least 35 to 40 vigor, nearly every elite knight roaming the open fields will finish you in one or two hits.
- Upgrade your Flasks: Make sure you have hunted down the sacred tears from the lower regions. Healing for marginal amounts will not sustain you through these long exploration treks.
- Bring Strike Damage: Many of the newly introduced subterranean enemies and armored golems have massive resistances to slashing weapons. A solid hammer or mace will save your life.
Origins of the Golden Land
The lore woven into this highland is absolutely staggering. Long before the chaotic events of the current timeline, this elevated paradise served as the absolute epicenter of faith, power, and prosperity for the realm. It was directly blessed by the looming Erdtree, receiving its golden dew and basking in an era of unprecedented peace. The original settlers built massive fortifications, grand highways, and towering statues to honor their gods, believing their golden age would literally last for eternity. The soil itself is infused with holy magic, which is why everything from the grass to the leaves glows with a warm, radiant light.
Evolution of the Erdtree’s Influence
However, nothing lasts forever. When the shattering war erupted, this once-peaceful plateau became the most contested ground in the entire world. Massive armies marched up the steep cliffs, laying siege to the capital city that borders the eastern edge. The landscape we see today is heavily scarred by these ancient, apocalyptic battles. Craters dot the landscape, massive siege weapons sit rotting in the fields, and the once-proud military encampments have devolved into desperate survival camps. The Erdtree’s influence began to wane, and the golden grace that once healed the inhabitants started to mutate, causing strange afflictions and drawing bizarre, terrifying creatures from the darker corners of the world.
Modern State of the Region
Fast forward to the present day. Even now in 2026, the dedicated lore-hunting community is still piecing together exactly what happened to the specific garrisons stationed here. The region is currently stuck in a tragic state of limbo. The soldiers wandering the roads have completely lost their minds, endlessly patrolling ancient routes and defending broken carriages long after their commanding officers abandoned them. It is a hauntingly beautiful post-apocalyptic highland. You are essentially walking through a massive, open-air museum of a fallen empire, where every ruin tells a story of hubris, endless war, and the tragic decay of a once-flawless society.
Topographical Architecture and Engine Rendering
From a purely technical standpoint, the design of this zone is a masterclass in video game world-building and engine rendering. The developers completely shifted their topographical architecture to emphasize verticality and scale. Instead of the claustrophobic ravines of earlier zones, they use sweeping, open plains mixed with sudden, sheer drop-offs to create a false sense of security. The game engine utilizes advanced volumetric fog combined with intensely saturated directional lighting to create that signature golden haze. This forces the player’s eye toward massive focal points like the capital walls or the minor trees, subtly guiding your navigation without relying on aggressive UI markers.
Enemy Scaling Mechanics Explained
When you cross the threshold into this highland, the game’s internal scaling metrics shift dramatically. This isn’t just a basic health pool increase. Enemy AI routines become far more aggressive, their aggro radius expands, and their attack combos feature delayed timings specifically designed to catch players panic-rolling. Understanding the underlying mechanics of this region can significantly reduce your frustration.
- Hitbox Precision: Enemies here utilize sweeping attacks with massive hitboxes, requiring you to dodge directly into the attack rather than away from it to utilize your invincibility frames efficiently.
- Draw Distance Aggro: The open nature of the map means roaming bosses (like the fallingstar beasts) can spot you from much further away compared to earlier forest zones.
- Audio Cue Systems: The ambient wind noise masks the footsteps of approaching patrols, meaning you must rely heavily on the subtle audio shifts in the background music to know when you have been spotted.
- Level of Detail (LOD) Rendering: Notice how the massive golden leaves falling from the sky seamlessly transition from 2D sprites to 3D geometry as they hit the ground; this optimized rendering keeps the frame rate stable despite the visual chaos.
Step 1: Secure the Grand Lift Medallions
If you want the most cinematic entry into the region, you need to ride the grand lift. To do this, you must secure the left and right halves of the specific medallion. One is hidden in Fort Haight far to the south, and the other is heavily guarded by dragons and harpies in Fort Faroth to the east. Grab these early.
Step 2: Navigate the Ruin-Strewn Precipice (Alternative Route)
If you miss the medallions, you are not locked out. You can physically scale the massive cliffside via the ruin-strewn precipice. This dark, dangerous mining shaft is packed with bats, poison-spewing land octopuses, and a ferocious Magma Wyrm boss at the summit. It is tougher, but incredibly rewarding.
Step 3: Activate the First Golden Lineage Grace
The absolute second you set foot on the highland grass, whether by lift or by tunnel, find the nearest grace checkpoint. Do not explore yet. The sudden presence of massive, heavily armored golems with great-bows will punish you if you try to sightsee without a respawn anchor.
Step 4: Harvest the Minor Erdtree Surroundings
Once secured, immediately head toward the nearest minor tree visible on your compass. The crystal tears found at its base are essential for crafting custom physick flasks. Be prepared to fight a massive bludgeon-wielding avatar guarding the base.
Step 5: Locate the Map Fragments Immediately
Wandering blindly in this massive zone is a death sentence. Stay on the main dirt paths and look for the stone obelisk icons on your blank map interface. Sprint past the roaming knight patrols on your spectral steed to grab the map fragments and reveal the topography.
Step 6: Avoid the Night Cavalry Patrols
Time of day matters drastically here. When the sun sets, the regular knight patrols are replaced by the terrifying Night’s Cavalry and invisible black knife assassins. If you are not strictly hunting them for their unique ashes of war, rest at a checkpoint to pass the time until morning.
Step 7: Push Toward the Capital Outskirts
Your ultimate goal is pushing eastward up the massive staircase toward the capital walls. This chokepoint is guarded by two mounted tree sentinels simultaneously. Use everything you have learned, utilize your custom flasks, and break through their defenses to secure your foothold at the gates.
There are countless rumors surrounding this massive zone, many of which can lead new players completely astray. Let us clear up some of the most persistent misconceptions right now.
Myth: The area is purely a high-level endgame zone that you should avoid until you have maxed out your weapons.
Reality: It is firmly a mid-game transition zone. Arriving here early to grab high-tier upgrade stones by completely avoiding combat is actually a highly recommended strategy used by speedrunners.
Myth: You absolutely must fight the dreaded magma wyrm to gain access to the golden fields.
Reality: The wyrm is entirely optional. If you track down the two halves of the medallion, you can completely bypass the underground climb and ride the lift peacefully.
Myth: The sky changes to a darker red color based on your current level in the zone.
Reality: The skybox changes are strictly tied to world events and specific boss defeats, possessing absolutely zero connection to your character’s rune level.
Myth: Golden seeds found here are heavily guarded by unbeatable, script-kill foes.
Reality: While the guards look incredibly intimidating, their attack patterns are easily manipulated. You can easily sprint in on your mount, snatch the seed, and ride away without swinging your sword once.
What is the recommended level for this area?
You should aim for around level 60 to 70 with a weapon upgraded to at least +12 to comfortably handle the standard enemies.
How do I find the second medallion half?
The right half is located in Fort Faroth in the red rot region. Just sprint past the bats and climb the ladder directly to the chest.
Are there any friendly NPCs here?
Yes, you can find Brother Corhyn, Goldmask, and eventually Millicent depending on how far you have progressed their specific questlines.
Can I skip this region entirely?
No, progressing through the plateau is mandatory to reach the royal capital and continue the main storyline of the game.
Where is the best farming spot?
The windmill village in the north is excellent for farming runes, as the dancing villagers are easily staggered and drop a decent amount of currency.
Do enemies drop unique armor?
Absolutely. The knights roaming the fields drop some of the most aesthetically pleasing and highly defensive golden armor sets available in the mid-game.
What happens if it turns night?
Dangerous nocturnal bosses like the Deathbird and Night’s Cavalry spawn at specific ruins and bridges, replacing regular enemy patrols.
Is there a secret underground section?
Yes, finding the hidden hero’s graves and ancient tunnels beneath the surface provides access to some of the rarest spirit ashes and talismans.
In summary, conquering the magnificent golden hills is entirely about smart preparation, understanding the lore, and strategically picking your battles. It is the proving ground that separates the casual wanderers from the true lords. If you found this breakdown helpful, share it with your co-op buddies, hit those ruins with confidence, and start claiming the spectacular loot waiting for you up there!




Leave a Reply