Making the Choice: Rancher or Tiller Stardew Valley
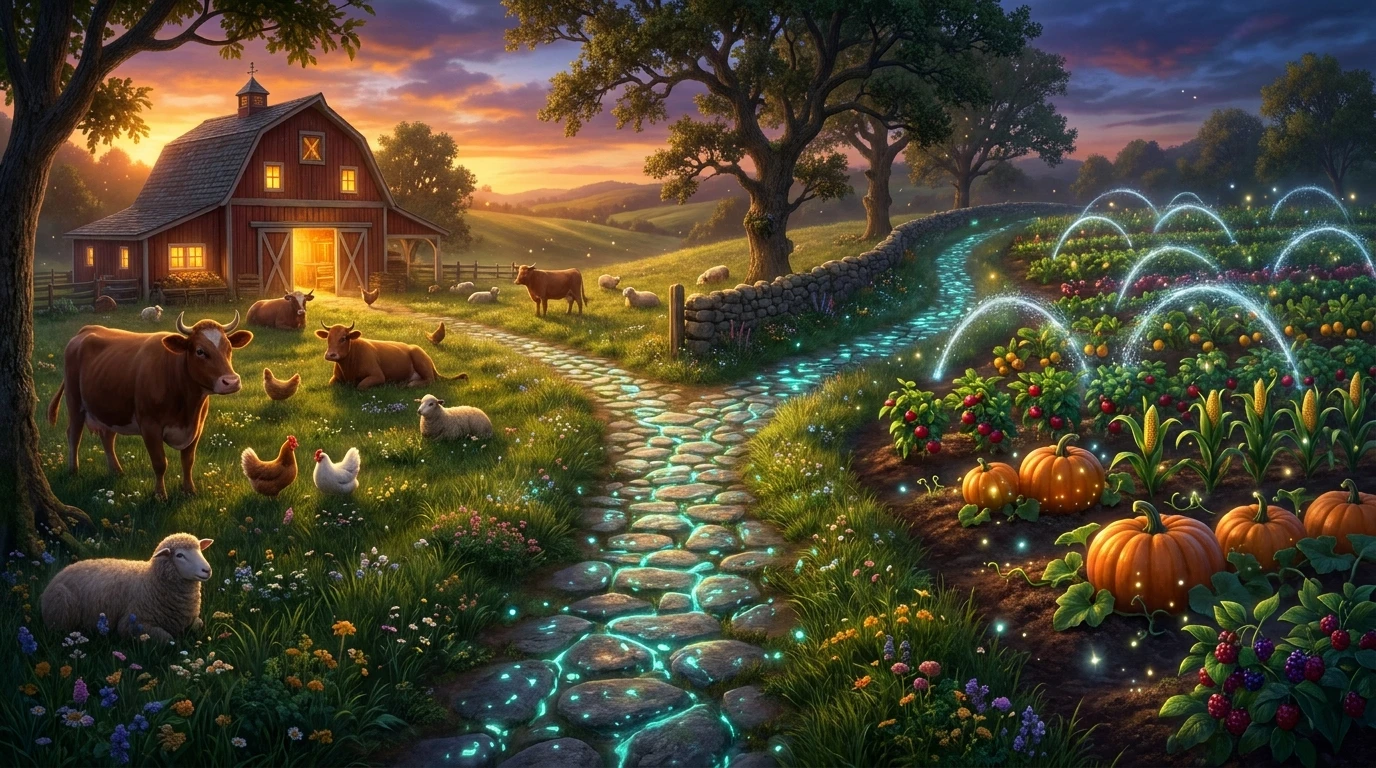
Hitting Farming Level 5 forces a major crossroad: picking the Rancher or Tiller Stardew Valley profession shapes the trajectory of your digital agricultural empire. When the prompt appears on your screen after a long day of watering parsnips or petting chickens, knowing the exact mathematical advantages of each path is crucial. The thesis is simple: your decision dictates the primary revenue stream of your farm for the next several seasons, influencing everything from daily tasks to infrastructure investments.
The Rancher path provides a 20% increase to the selling price of animal products like eggs, milk, and wool. This path appeals heavily to players who enjoy building sprawling barns and coops, caring for livestock daily, and securing a consistent, weather-independent income stream, particularly through the harsh winter months. Conversely, the Tiller path grants a 10% bonus to the selling price of raw crops. While 10% might seem mathematically inferior to 20%, the sheer volume of crops a player can harvest—combined with the lucrative Level 10 profession pathways it unlocks—makes it arguably the most popular choice for min-maxers and speed-runners. Navigating this choice requires understanding both immediate cash flow needs and long-term endgame strategies.
Read also: Geologist or Miner Stardew: Which Level 5 Profession Is Best; Guide: How to Get Maple Syrup Stardew Valley.
Comparing the Perks: Animals vs. Crops
To truly understand the benefits and potential drawbacks of your level 5 farming choice, you need to look at how these professions scale over time. The fundamental value proposition boils down to active daily management versus massive seasonal payouts.
For example, a standard chicken egg normally sells for 50 gold. With the Rancher profession, that base price jumps to 60 gold. If you process that egg into Mayonnaise, standard quality sells for 190 gold, but you will soon learn how Level 10 choices impact these artisan goods. On the other hand, consider the Tiller profession. A single Starfruit sells for 750 gold, but with the Tiller bonus, it jumps to 825 gold. When you are planting hundreds of seeds per season, that 10% adds up to tens of thousands of extra gold pieces very quickly.
| Profession Choice | Level 5 Immediate Bonus | Level 10 Unlock Options |
|---|---|---|
| Rancher | +20% value on raw animal products | Coopmaster or Shepherd |
| Tiller | +10% value on raw crops | Artisan or Agriculturist |
| Statue Reset | 10,000 Gold fee to switch | Complete access to alternative paths |
When deciding on your economic engine, keep these primary operational factors in mind:
- Early Game Spring Payouts: Crops generate massive spikes in income during the first spring and summer, making the crop bonus highly lucrative for buying tool upgrades early.
- Consistent Winter Sustainability: Animals produce goods every single day regardless of snow, providing steady income when fields are frozen and unusable.
- Artisan Equipment Scaling: Processing raw materials into mayonnaise, cheese, jelly, and wine is the ultimate endgame strategy, meaning your early game choice is largely a stepping stone to heavier industrial processing later.
Tracing the Agricultural Lineage
The Origins of Farming Professions
When the game first launched, the choice between animal husbandry and crop cultivation was designed to offer two distinct, equally viable roleplaying styles. Developer Eric Barone structured the early progression so players could organically lean into whatever farm tasks they found most enjoyable. Initially, balancing the economy between a handful of chickens and a massive field of blueberries proved challenging. Crop farming naturally scaled faster because players could infinitely expand their fields, whereas barns required significant material investments and footprint space.
Evolution Across Game Updates
As the game evolved through its numerous patches, the economic meta shifted heavily. The introduction of new crop types, the refinement of artisan goods, and the addition of late-game areas heavily influenced how players viewed the level 5 choice. Early patches saw massive buffs to the Artisan profession (which follows the Tiller route), making crop processing undeniably superior for raw gold generation. Subsequent updates attempted to balance this by introducing the Autopetter and Ostrich incubators, vastly reducing the daily friction of managing massive herds of livestock and giving the animal-focused path a much-needed quality-of-life boost.
Modern State of Farm Optimization
Today, the established community meta heavily favors the crop path for early game expansion, primarily because it seamlessly transitions into the highly profitable Artisan route at level 10. However, the modern game state also includes the Statue of Uncertainty in the Sewers. This addition fundamentally changed the pressure of the initial choice. Players no longer have to stress about making a permanent mistake; they can easily run animal setups during winter and swap professions for a modest 10,000 gold fee, allowing for dynamic, season-by-season economic strategies.
Mathematical Yield Mechanics
Calculating Base Prices and Multipliers
Understanding the underlying math behind your farming profits requires a look at base price scaling. The game engine calculates selling prices by taking the base value of an item and applying quality multipliers first (Silver is 1.25x, Gold is 1.5x, Iridium is 2x). Profession bonuses are calculated after quality multipliers. Thus, a Tiller selling a Gold-quality crop receives the 1.5x boost followed by the 1.1x profession multiplier. Because these multipliers stack multiplicatively, high-tier crops yield drastically higher numeric returns than base-tier crops, making the math heavily favor high-value seeds like Ancient Fruit and Starfruit over parsnips and wheat.
Production Processing Calculations
The real technical divide happens when raw goods enter a processing machine like a Keg or Preserves Jar. By default, turning a vegetable into pickles multiplies its base value by 2 and adds 50 gold. Turning fruit into wine multiplies the base value by 3. Here is the critical mechanical detail: raw profession bonuses do not apply to processed goods. Only the Level 10 Artisan profession buffs wine and cheese.
- Raw Bonus Limitations: The 10% Tiller bonus applies strictly to un-processed vegetables, fruits, and flowers.
- Animal Product Math: The 20% Rancher bonus applies to eggs, milk, wool, and truffles, but vanishes the moment those items become mayonnaise, cheese, or cloth.
- The Artisan Override: The Level 10 Artisan skill (locked behind the Tiller path) applies a massive 40% buff to almost all processed goods, mathematically dwarfing raw bonuses.
- Truffle Oil Exception: Truffles benefit from the Rancher bonus when sold raw, but Truffle Oil benefits from the Artisan bonus, creating a unique cross-profession optimization puzzle.
- Agriculturist Speed: The alternative Level 10 crop skill boosts growth speed by 10%, stacking additively with Deluxe Speed-Gro for hyper-fast harvesting cycles.
Mastering Your Farm Progression
Step 1: Assess Your Playstyle Early
During the first week of Spring, decide if you prefer watering plants every morning or petting animals. Your daily routine should dictate your long-term infrastructure. If you hate watering, you might want to rush coop construction.
Step 2: Plant High-Yield First Crops
Regardless of your long-term goal, you must plant heavily in Spring Year 1. Potatoes, strawberries, and kale offer the fastest route to reaching Farming Level 5, generating the experience points required to trigger the profession prompt.
Step 3: Build the First Silo and Coop
Before purchasing animals, construct a Silo to store hay harvested from your farm’s wild grass. Once the Silo is full, commission Robin to build a basic Coop and purchase a few starter chickens to begin leveling your animal husbandry metrics.
Step 4: Reach Level 5 and Evaluate
Usually arriving midway through Summer Year 1, the level 5 prompt will appear overnight. Pause and review your current farm setup. If you have mostly crops and sprinklers, you know exactly which way to lean.
Step 5: Lock In Your Choice
Select your profession based on your immediate inventory. If your chests are full of blueberries waiting to be sold, the crop bonus provides instant capital. If you have invested heavily in cows and goats, take the animal bonus.
Step 6: Plan for Level 10 Transitions
Look ahead to the endgame. Start building kegs, jars, and mayonnaise machines. Realize that raw sales are temporary; processed goods are the permanent endgame economy.
Step 7: Utilize the Statue of Uncertainty
Once you unlock the Sewers, you gain access to the Statue of Uncertainty. Pay the 10,000 gold fee to respec your professions whenever your farm transitions from raw crop selling to mass artisan wine production.
Dispelling Common Misconceptions
Myth: The Rancher path is entirely useless in the late game.
Reality: While Artisan is generally more profitable overall, players who run massive pig farms can actually make millions selling raw Iridium-quality truffles combined with the foraging profession, making animal paths highly viable.
Myth: You are permanently locked into your Level 5 choice forever.
Reality: The Statue of Uncertainty allows infinite profession swaps for a small gold fee, meaning you can easily switch paths whenever your farm layout changes.
Myth: The Tiller bonus applies to items like jam and wine.
Reality: The 10% Tiller bonus only applies to raw, unprocessed crops. You must reach Level 10 and select Artisan to get bonuses on processed goods like wine, jelly, and cheese.
Myth: Rancher makes mayonnaise sell for more gold.
Reality: Rancher only boosts the raw egg. Once the egg becomes mayonnaise, it loses the Rancher buff completely, relying instead on the Level 10 Artisan skill for any price enhancements.
Frequently Asked Questions
Does Tiller affect foraging items?
No, crops grown from wild seeds and items picked up from the ground fall under the Foraging skill tree.
Can I change from Rancher to Tiller later?
Yes. Unlocking the Sewers grants access to the Statue of Uncertainty, allowing you to pay 10,000 gold to swap professions overnight.
Do tree fruits benefit from the Tiller bonus?
Yes, raw apples, cherries, peaches, and other orchard fruits receive the 10% price increase when sold directly.
Does Rancher affect fish ponds?
No, fish pond products like roe and aged roe are governed by the Fishing skill and the Artisan profession, not animal husbandry.
Which path is better for completing the Community Center?
Neither provides a direct advantage for bundle completion, as the Community Center requires items from both animals and crops regardless of your profession.
Do animal products automatically sell for more with Rancher?
Yes, items placed in the shipping bin will automatically have the 20% multiplier applied to their base and quality values.
Is the Artisan profession strictly better than Agriculturist?
For raw profit, yes. However, Agriculturist combined with Speed-Gro is excellent for rapidly multiplying rare seeds or growing extra harvests of Starfruit.
Final Thoughts
Deciding between the Rancher or Tiller Stardew Valley pathways ultimately dictates the pace and style of your early farming career. Optimize your choice based on your current setup, and do not hesitate to pivot your strategy as your digital farm expands. Jump back into Pelican Town, plant those seeds, and start building the agricultural empire of your dreams!




Leave a Reply