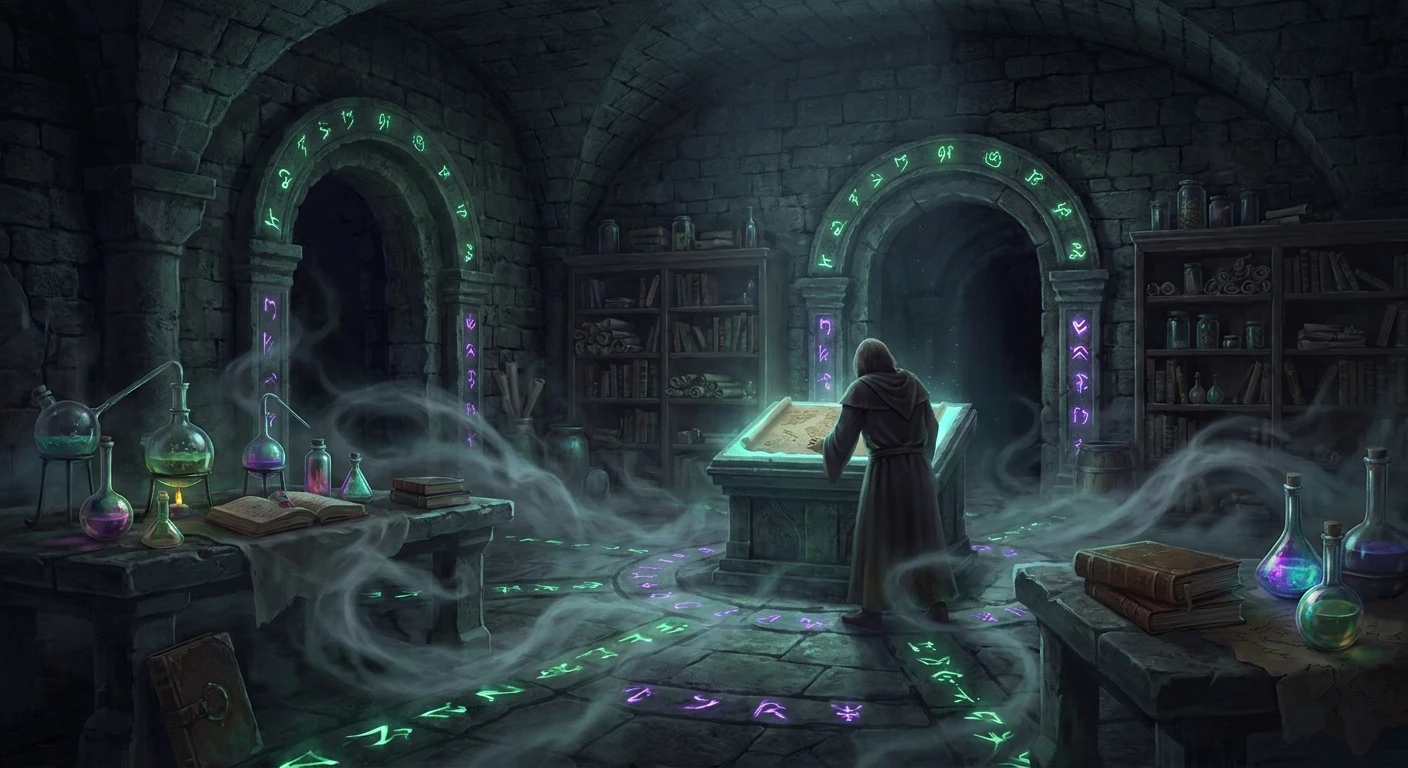
Surviving Balthazar BG3: Your Ultimate Encounter Strategy
Encountering Balthazar BG3 for the first time completely changes the pacing and tactical requirements of Act Two. If you are wandering through the shadows and solving puzzles, suddenly running into this macabre antagonist acts as a massive reality check. Balthazar is an undead necromancer who holds the absolute key to understanding Ketheric Thorm’s invulnerability. Figuring out how to handle him dictates the flow of the rest of your journey through the cursed lands.
Many players hit a massive difficulty wall when they finally reach his laboratory. The atmosphere shifts, the stakes get significantly higher, and the game demands a fundamental understanding of positioning and crowd control. You cannot simply brute-force your way through this encounter unless you are drastically over-leveled. The environment is tight, his minions are numerous, and the spellcasting mechanics at play here are designed to punish clustered parties.
Read also: Defeating Ansur BG3: Complete Boss Fight Strategy Guide; How to Beat orin bg3 Easily.
Look, you need a highly specific game plan to survive this without burning through all your resurrection scrolls. Whether you decide to talk to him, trick him, or blast him the second you see his gruesome face, knowing his attack patterns and understanding the terrain makes the difference between a total party wipe and a clean, satisfying victory.
Choosing Your Battleground: Tactical Advantages and Risks
When you track Balthazar down in the depths of the Gauntlet of Sharr, you are immediately faced with a choice of where and when to trigger the actual boss fight. You do not actually have to fight him the very second you meet him, but delaying the inevitable creates massive complications later down the line. Managing the location of the fight is the single biggest tactical decision you make in this entire act.
| Encounter Location | Tactical Advantage | Key Risks |
|---|---|---|
| Inside the Laboratory (Gauntlet) | Confined space, easy to block chokepoints, prevents him from raising infinite skeletons. | Cloudkill covers the entire room quickly; Flesh has nowhere to be kited safely. |
| The Shadowfell (Nightsong Prison) | Narratively cinematic, allows you to use environmental shoves to push enemies into the void. | He summons dozens of skeletons across massive vertical terrain, leading to easy party wipes. |
| Outside the Laboratory (Ambush) | You can force him into a three-way battle with Dark Justiciars, saving your party’s resources. | Requires precise timing and specific spells to execute correctly without grabbing aggro. |
Handling him early provides immense value for your party. For instance, defeating him in his laboratory means you preserve all your highest-level spell slots and healing potions for the eventual showdown at Moonrise Towers. Additionally, eliminating him early completely removes him from the Shadowfell sequence, allowing you to focus entirely on the narrative choices surrounding the Nightsong without a grueling, multi-layered boss fight interrupting the emotional climax.
To successfully pull this off, you need to follow a strict preparation sequence:
- Pre-Buff with Elixirs: Distribute Elixirs of Necrotic Resistance to your frontline fighters to mitigate his highest damage spells.
- Position Ranged Attackers: Keep your archers and casters elevated outside the main doorway to avoid the immediate area-of-effect spells he casts on round one.
- Isolate the Golem: Use spells like Command, Hold Monster, or Tasha’s Hideous Laughter on his heavy hitter, Flesh, to take him out of the action economy completely.
- Prepare Counterspells: Ensure at least one spellcaster has Counterspell readily available to shut down his initial cast of Cloudkill or Animate Dead.
Origins of the Undead Necromancer
Balthazar is not just a random monster placed in a dungeon; he is deeply woven into the tragic lore of Moonrise Towers and the Thorm family. Long before the events of the game, Balthazar served as a twisted advisor and dark magic specialist. His primary function was manipulating soul energy and necrotic forces to ensure that Ketheric Thorm’s reign remained absolute and unchallengeable. He operates with a grotesque pragmatism, viewing all living creatures—and most dead ones—as nothing more than spare parts for his endless experiments.
Evolution of Ketheric Thorm’s Loyal Servant
Over the decades, as the shadow curse consumed the lands surrounding the towers, Balthazar’s methods became increasingly depraved. He is directly responsible for the creation of the Moonlanterns, horrifying devices powered by the tortured souls of pixies, which allow the cultists to navigate the lethal shadows. His physical form evolved alongside his twisted magic. He replaced his own body parts, stitching together a horrifying visage that reflects his complete abandonment of humanity. His absolute loyalty to Ketheric is born not out of friendship, but out of a shared obsession with conquering death itself.
Modern State in the Gauntlet of Shar
By the time your party arrives, Balthazar has entrenched himself inside an ancient Sharran temple. His objective is clear: secure the relic that provides Ketheric with his immortality. He has barricaded himself inside a makeshift laboratory, protected by wards and abominations. He views the temple’s native defenses, primarily the Dark Justiciars, as mere nuisances. He is perfectly content to sit back and let your party clear the temple for him, fully intending to betray you the moment you secure the path to the Shadowfell. Understanding this arrogant mindset is key to catching him off guard.
Necrotic Energy and Spell Calculations
From a mechanical perspective, this boss fight is a masterclass in action economy manipulation and area denial. Balthazar operates with a surprisingly high spell save DC, meaning your party members are highly likely to fail their saving throws against his necrotic attacks unless you actively buff their stats beforehand. He heavily relies on positioning, often using Misty Step to teleport to the high ground or out of melee range the moment your fighters close the distance.
AI Targeting and Initiative Orders
The artificial intelligence running Balthazar is programmed to target clustered groups and physically weaker characters. If you leave your wizard or sorcerer exposed in the backline, he will bypass your heavily armored paladin and drop a concentrated AoE spell right on top of your squishiest party members. His initiative roll is usually quite high, meaning he frequently dictates the terms of the opening round.
- Armor Class (AC): He possesses a moderately high AC, making spells that require saving throws more effective than standard ranged physical attacks.
- Hit Points: His health pool is substantial, requiring sustained, focused fire over multiple rounds to deplete.
- Primary Spells: Cloudkill is his signature move, dealing massive poison damage in a huge radius that obscures vision and forces repositioning.
- Summoning Capabilities: If left unchecked, he will cast Animate Dead to flood the initiative tracker with expendable skeletons that absorb your attacks.
- Resistances: He boasts significant resistances to slashing and piercing damage from non-magical weapons, as well as total immunity to poison.
Step 1: Pre-Buffing with Necrotic Resistance
Before you even approach the laboratory area, distribute protection. Drink Elixirs of Necrotic Resistance and cast Protection from Poison. Balthazar relies almost entirely on these damage types. By cutting his damage output in half before the dialogue even starts, you drastically increase your survivability. Cast Bless on your party to ensure your initial strikes land.
Step 2: Unlocking the Laboratory Door
When you arrive at the coordinates, you find the area guarded by undead servants. You have a few options here. You can manually fight the Dark Justiciars that spawn, or you can use a highly effective tactical bypass. Savvy tacticians know to use knock on his door. Doing this forces the locked door open prematurely, causing Balthazar and his massive golem to enter the combat against the spawning Sharran forces.
Step 3: Initiating Conversation or Ambush
If you choose to walk in peacefully, you can speak with him to gather lore and context. However, strategically, opening with a surprise attack from stealth yields vastly superior results. Position your heaviest hitter behind him while he is facing the door. A massive sneak attack or a high-level smite can shave off a third of his health before he even rolls for initiative.
Step 4: Focusing Down Flesh the Golem
Flesh is Balthazar’s gigantic, stitched-together bodyguard. Do not ignore him. Flesh hits incredibly hard and can easily one-shot a fragile caster. You must crowd-control him immediately. Blindness, Ray of Enfeeblement, or simply stacking difficult terrain around him limits his mobility. Do not waste low-damage attacks on him; hit him with your strongest magic.
Step 5: Countering Cloudkill and AoE Spells
The moment Balthazar’s turn arrives, he usually attempts to cast Cloudkill. You absolutely need a caster with Counterspell ready to burn a level 3 slot to negate this. If Cloudkill goes off, your party will take ticking damage and lose line of sight, preventing you from targeting him with ranged spells. If you cannot counter it, use Gust of Wind to clear the poisonous fog instantly.
Step 6: Managing the Undead Minions
Balthazar’s ghouls and skeletons serve primarily to block your path and waste your actions. Use area-of-effect spells like Spirit Guardians on a Cleric. Have your Cleric walk directly through the crowd of lesser undead to melt them instantly with radiant damage, leaving your heavy hitters free to focus entirely on the necromancer himself.
Step 7: Looting the Circle of Bones
Once the dust settles and the necromancer is defeated, thoroughly loot the laboratory. You will find the Circle of Bones, an incredibly powerful headpiece that grants allied undead physical resistances. This is a phenomenal item for any necromancer build in your own party, and claiming it solidifies your dominance over the Gauntlet of Shar.
Myths and Realities of the Encounter
Myth: You must wait and fight Balthazar in the Shadowfell alongside the Nightsong.
Reality: You have total freedom to attack and kill him inside his laboratory the moment you meet him, which is tactically much easier.
Myth: Flesh the Golem is completely immune to all forms of physical damage.
Reality: Flesh has high health and standard resistances, but you can easily bypass his defenses using magical weapons, acid surfaces, or elemental arrows.
Myth: Siding with the Absolute means Balthazar becomes a permanent, friendly merchant for your camp.
Reality: He is entirely loyal to Ketheric Thorm. He will use you to fetch the relic, but he ultimately views you as expendable and will turn hostile if your goals misalign.
Myth: Silence completely shuts down Balthazar for the entire fight.
Reality: While Silence stops his verbal spells, he will simply use his movement to walk out of the bubble or use non-verbal abilities to reposition.
Frequently Asked Questions
What level should I be to fight Balthazar?
You should aim to be at least level 7 or 8 before taking on this encounter. Attempting it at level 6 is possible but requires flawless execution and heavy reliance on consumables.
Does Silence work against him?
Yes, casting Silence over his starting position prevents him from casting his most devastating spells, but you must keep him pinned inside the bubble using a frontline fighter with the Sentinel feat or he will just walk away.
Can you push Balthazar into the chasm?
If you fight him in the Shadowfell, yes, you can use abilities like Thunderwave, Eldritch Blast with Repelling Blast, or Roaring Thunder Arrows to instantly shove him off the platform to his death. However, you lose his loot by doing this.
What loot does Balthazar drop?
He drops the Circle of Bones, a unique circlet that provides an aura of resistance to allied undead, alongside some high-level scrolls, potions, and camp supplies scattered around his room.
How do you bypass the undead servants outside his door?
You can use invisibility potions to sneak past them, or let the spawning Dark Justiciars aggro the servants while you stand back in stealth, letting the two enemy factions weaken each other.
Will killing him early break the Nightsong quest?
Not at all. Killing him early actually streamlines the Nightsong quest, allowing you to make your moral choices in the Shadowfell without his interference forcing a violent outcome.
Can Flesh be turned against him?
No, Flesh is permanently loyal to him. However, you can use spells like Crown of Madness to briefly confuse Flesh, making him attack the nearest target, which might be another enemy minion.
Taking down this undead monstrosity requires preparation, smart positioning, and aggressive counter-magic. By controlling the terrain and isolating his massive golem, you can turn a notoriously difficult boss fight into a methodical, satisfying tactical victory. Gear up, prepare those elixirs, and clear the Gauntlet of Shar on your own terms. Have your own unique strategy for defeating him? Share your best tactical setups and party compositions to help other players survive the darkest corners of Act Two!





Leave a Reply