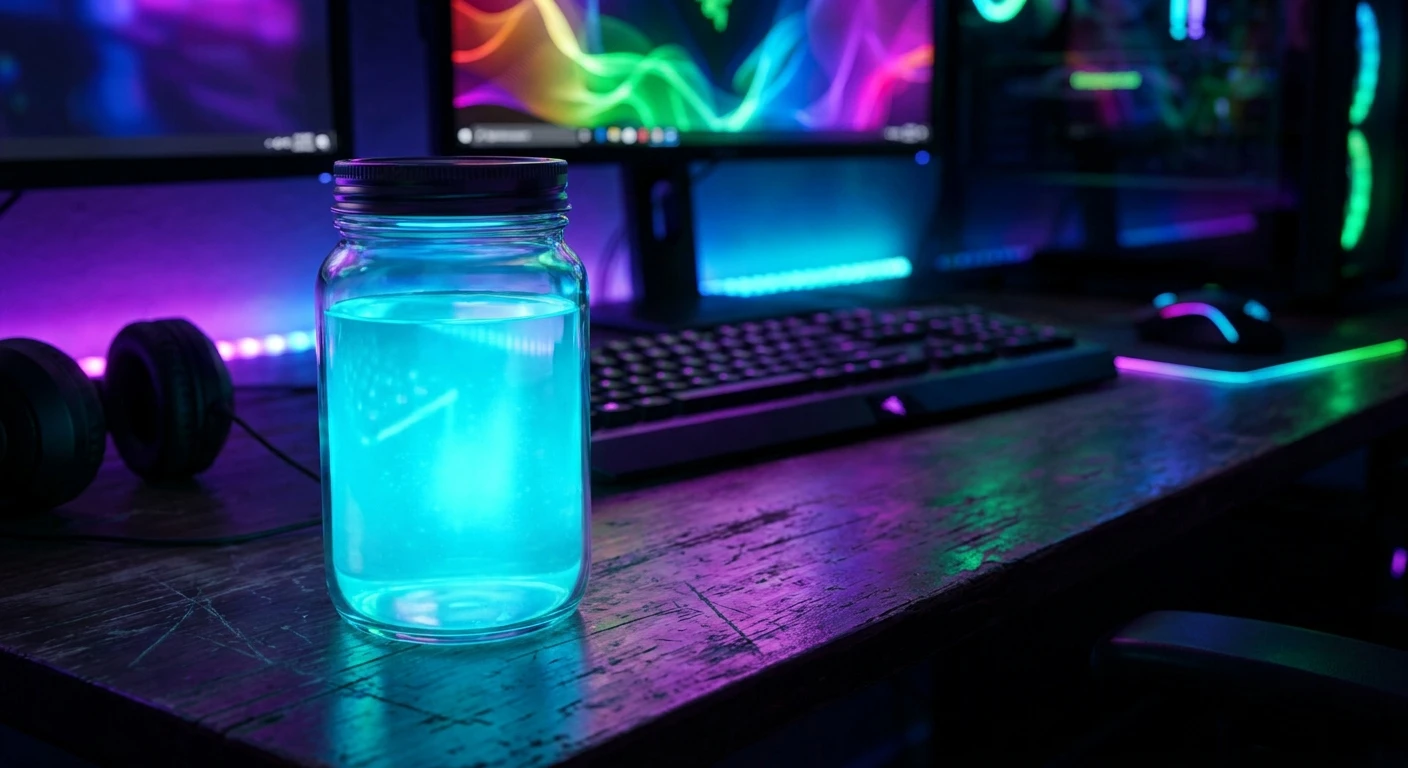
Why Everyone Is Obsessed With Slurp Juice Right Now
So, you are totally pinned down behind a crumbling brick wall, the storm circle is closing in fast, and the only thing standing between you and a quick trip back to the lobby screen is a glowing glass jar of slurp juice. Trust me, I know exactly how that feels. Mastering the absolute best ways to utilize this iconic, neon-blue liquid is exactly what separates the absolute beginners from the top-tier, competitive players. It is not just about randomly drinking it whenever you take a tiny bit of fall damage; it is a full-on strategic resource that can completely clutch a chaotic game.
I will never forget a match I played just last month. I was hanging out in a super cozy, underground cyber cafe in downtown Kyiv. We had a massive blackout happening outside, but thankfully the cafe owner had a massive diesel generator running, keeping our rigs and the espresso machine completely fully powered. I was playing a high-stakes trio match with my buddies, and the endgame was absolute madness. My teammate Vlad was aggressively screaming over the voice comms for a quick heal because he was literally at one HP. I quickly tossed him my very last jar across the roof of a building. He caught it, chugged it while the enemy squad was actively pushing our ramp, and the continuous healing over time allowed him to survive a direct shotgun blast and win us the entire match. That specific, heart-pounding moment perfectly captures the absolute chaotic magic of this item, and I am going to teach you how to master it.
The Tactical Breakdown: Why You Need It In Your Loadout
Look, we have all been guilty of dropping healing items for another shiny sniper rifle, but that is a massive rookie mistake. The sheer utility of this consumable is unbelievable. Instead of giving you a flat, instant chunk of health like a standard medkit or a basic mini shield, it provides a continuous, steady stream of regeneration. This means you can pop it right before a chaotic push, and it will actively heal you while you are taking enemy fire. It is literally like having a pocket medic aggressively working on you while you focus strictly on hitting your shots. To give you a clear picture of how it stacks up, check out this quick breakdown of its variants and their statistical outputs.
| Consumable Variant | Total Regeneration Amount | Time to Consume |
|---|---|---|
| Classic Edition | 75 HP or Shield (Combined) | 2.0 Seconds |
| Exotic Rarity | 150 HP or Shield | 2.5 Seconds |
| Mythic Chug | 200 HP and 200 Shield | Instant Cast |
Think about the massive advantage you gain here. For example, if you are caught in a nasty early-game fight at a hot drop location, you can quickly hide behind a door, pop the jar, and immediately jump back into the hallway while your health steadily climbs. Another classic example is surviving the late-game storm circle. When the storm tick damage is absolutely melting your health bar, the regeneration effect perfectly counters the damage, allowing you to run those extra few meters to safety without getting eliminated. If you want to absolutely dominate your matches, you have to follow a strict protocol when handling this item. Keep these rules burned into your mind:
- Assess the immediate threat level before drinking. Do not just stand out in the completely open field. Always build at least a basic wooden box or find hard cover.
- Do the quick math on your current health pool. Since it heals a maximum of 75 points, do not waste it if you are only missing 10 points of shield. Save it for a real emergency.
- Communicate with your squad aggressively. If your teammate has zero shields and you are fully maxed out, toss it over to them. Selfish plays lose matches.
The Humble Origins of the Blue Liquid
Let me tell you about where this magical potion actually came from, because the history is wild. Way back in the very first season of the game, players only had bandages and massive, bulky medkits. Surviving was brutal. You had to sit completely still for a full ten seconds just to heal up, making you absolute sniper bait. When the developers finally introduced this glowing blue jar, the entire community lost their minds. It completely revolutionized pacing. Players were suddenly able to heal dynamically, moving around and pushing enemies while their shields steadily ticked upwards. It was originally quite rare, found only in highly contested supply drops or hidden deep inside golden treasure chests.
Evolution Through the Seasons
As the map kept changing, so did the accessibility of our favorite consumable. The developers realized how much the community loved it, so they aggressively expanded the lore. They introduced an entire industrial point of interest called Slurpy Swamp, complete with a massive factory complex dedicated entirely to manufacturing the liquid. You could literally break open massive metal vats and wooden barrels with your pickaxe to bathe in the raw, unfiltered liquid for free health. The item went from being a super rare luxury item to a totally fundamental core mechanic of aggressive gameplay. Various patch updates continuously tweaked the healing rates, sometimes dropping it to 1 health per second, and other times massively buffing it to 2 or 3 health per second to match the changing speed of the game.
The Modern State of the Meta
Now that we are deep into the 2026 competitive season, the mechanics have been polished to absolute perfection. The modern meta is incredibly fast-paced, with players utilizing advanced movement mechanics like sliding, tactical sprinting, and vaulting over walls. Sitting still to use a medkit is practically a death sentence in high-level lobbies. The current version of the consumable is specifically balanced to support this hyper-mobile playstyle. It now has a beautifully optimized consumption animation that barely slows your momentum, meaning you can pop the cork, chug the neon liquid, and immediately get back to aggressively flanking your opponents. It is a completely indispensable part of any top-tier loadout.
The Lore Behind the In-Game Chemistry
Have you ever actually stopped and thought about what this stuff is made of? According to the scattered lore hidden throughout the map on old computer terminals and corporate memos, the liquid is essentially a highly unstable, bio-engineered synthetic serum. It was originally designed by the mysterious Slurp Co. corporation as a heavy industrial coolant for their massive energy reactors, but some rogue factory workers accidentally discovered that it instantly regenerates damaged cellular tissue upon contact. The glowing property is literally a side effect of its high-energy chemical bonds breaking down inside your character’s body to knit wounds back together and project a temporary kinetic shield barrier.
Algorithmic Spawn Logic and Statistics
If you really want to get sweaty and technical, we have to talk about the backend spawning mathematics. The game director engine dynamically adjusts loot pools based on the specific phase of the match, but this consumable follows a very distinct mathematical pattern. It is absolutely crucial to understand these underlying numbers if you want to optimize your loot routing efficiently.
- Base Spawn Probability: It holds a solid 14% chance to spawn from any standard floor loot location, making it relatively accessible.
- Chest Multiplier: Opening a rare, blue-glowing chest increases the drop chance up to roughly 35%, practically guaranteeing you will find one.
- Maximum Stack Limit: You can currently hold a maximum of two jars in a single inventory slot. Managing this strict limitation is critical for endgame inventory space.
- Regeneration Tick Rate: It precisely delivers exactly 2 points of combined health or shield per server tick (every 1 second) until the total pool of 75 is exhausted.
- Cancelation Penalty: If you interrupt the 2-second drinking animation by suddenly switching weapons, the entire item is consumed instantly with absolutely zero healing applied. Never do this!
Day 1: Perfecting Your Loot Route
Alright, it is time for a serious bootcamp. Over the next seven days, you are going to master this item completely. Day one is all about map knowledge. Stop dropping into completely random, empty fields. You need to actively memorize the exact locations of guaranteed cooler boxes and rare chests. Spend your entire session landing at high-density industrial zones where cooler boxes regularly spawn. Your sole goal today is to consistently finish the early game with two full jars sitting securely in your inventory.
Day 2: Advanced Inventory Management
On day two, we are strictly focusing on your hotbar layout. Muscle memory is everything in a stressful gunfight. Always, and I mean absolutely always, place your healing items on the exact same hotkey. I highly recommend placing your slurp juice in the slot directly adjacent to your primary close-range shotgun. If you take a massive hit, you want to be able to instantly tap one button, duck behind cover, and start chugging without looking down at your keyboard.
Day 3: The Mid-Combat Pop Strategy
Day three is where things get heavily tactical. Today, practice drinking the potion right in the middle of active engagements. When an enemy successfully cracks your shields, do not panic and run entirely away. Instead, quickly edit a window in your wooden wall, duck down, pop the jar, and immediately reset your wall. By the time the enemy tries to aggressively push your box, your shields will already be actively regenerating, giving you a massive psychological and numerical advantage.
Day 4: Advanced Storm Tanking Math
On day four, you are going to deliberately play inside the toxic storm. The storm operates in strictly timed phases, increasing its damage output as the match progresses. Practice doing the mental math. If the storm is ticking for 2 damage per second, and your potion heals for 2 damage per second, you are entirely mathematically neutral for a massive 37.5 seconds. Use this exact window to confidently flank enemies who think the storm is protecting their rear.
Day 5: Squad Distribution and Economics
For day five, gather your squad. You are practicing heavily altruistic gameplay. Designate one specific player on your team to be the dedicated medic. This player should prioritize carrying a full stack of the liquid at all times. Practice tossing the jars to each other accurately during chaotic moving zones. Good communication and fast distribution will win you tournaments.
Day 6: Baiting the Enemy
Day six is incredibly fun. You are going to use the loud, highly distinct audio cue of opening the glass jar to deliberately bait aggressive players. When an opponent hears that popping sound, they will automatically assume you are vulnerable and defensively healing. Stand right next to a corner, initiate the drinking animation to trigger the sound, instantly cancel it, pull out your shotgun, and blast them the second they greedily rush around the corner.
Day 7: The Late-Game Clutch
Your final day of training combines absolutely everything. In the final, shrinking circles, space is heavily restricted, and damage is constantly flying everywhere. Save your very last jar specifically for the final one-on-one duel. Pop it right before you initiate the final push. Having that continuous stream of healing passively ticking up while you are spraying your assault rifle is the ultimate power move to secure the victory royale.
Busting the Biggest Myths Out There
There is so much terrible advice floating around the internet forums. Let me personally clear up some of the absolute worst misinformation so you don’t ruin your matches.
Myth: It strictly heals your blue shields before it heals your green health bar.
Reality: That is completely false. The game engine is heavily programmed to prioritize your core green health first. Only after your health reaches a perfect 100 will the excess healing overflow into your secondary blue shield bar.
Myth: Your character actively runs significantly faster while glowing blue from the liquid.
Reality: No, you absolutely do not. The blue glow is strictly a visual cosmetic indicator to show that the regeneration effect is active. Your base movement speed, sprinting speed, and slide distance remain entirely unchanged.
Myth: You can completely negate massive fall damage if you drink it in mid-air.
Reality: This is hilarious but totally wrong. The healing ticks are way too slow. If you fall thirty meters and hit the dirt, you are going back to the lobby instantly. It cannot outpace lethal chunk damage.
How long does the drinking animation take?
It takes exactly 2.0 seconds from the moment you click the button to the moment the empty jar disappears. You cannot sprint during this window.
Can I intentionally drop it while drinking to give it to a friend?
No, you absolutely cannot. If you drop it from your inventory menu mid-animation, the action is entirely canceled and the item just drops quietly to the floor.
Does the liquid heal my damaged vehicles?
It explicitly only affects player characters. Splashing it against the hood of a smoking car will do absolutely nothing but waste your precious loot.
What exactly happens if I drink it at full health and shields?
The game will actively prevent you from doing this. Your character will just shake their head and the animation will completely refuse to start.
Are there fundamentally better healing items in the loot pool?
It heavily depends entirely on your specific situation. A full medkit provides more raw numbers, but takes a massive 10 seconds. For aggressive, moving fights, nothing beats this specific item.
Does the bright blue glow expose my hiding position?
Yes, it absolutely does. If you are crouching in a dark bush at night, the neon aura will stick out heavily. Be extremely careful when hiding.
Can enemy players clearly hear the healing sound?
Yes, the distinct popping and bubbling audio cue can be clearly heard by anyone within a roughly 15-meter radius, so do not use it if someone is directly on the other side of your wall.
Look, mastering the slurp juice is genuinely one of the easiest and fastest ways to drastically improve your survival rate and win more matches. Stop treating it like just another random consumable and start treating it like the massive tactical advantage it truly is. Practice the hotkey placements, learn the exact timing, and you will be completely unstoppable in the final zones. Now, load up the game, hot drop into the factory, and secure that epic victory!

Leave a Reply