Surviving caelid: The Ultimate Wasteland Playbook
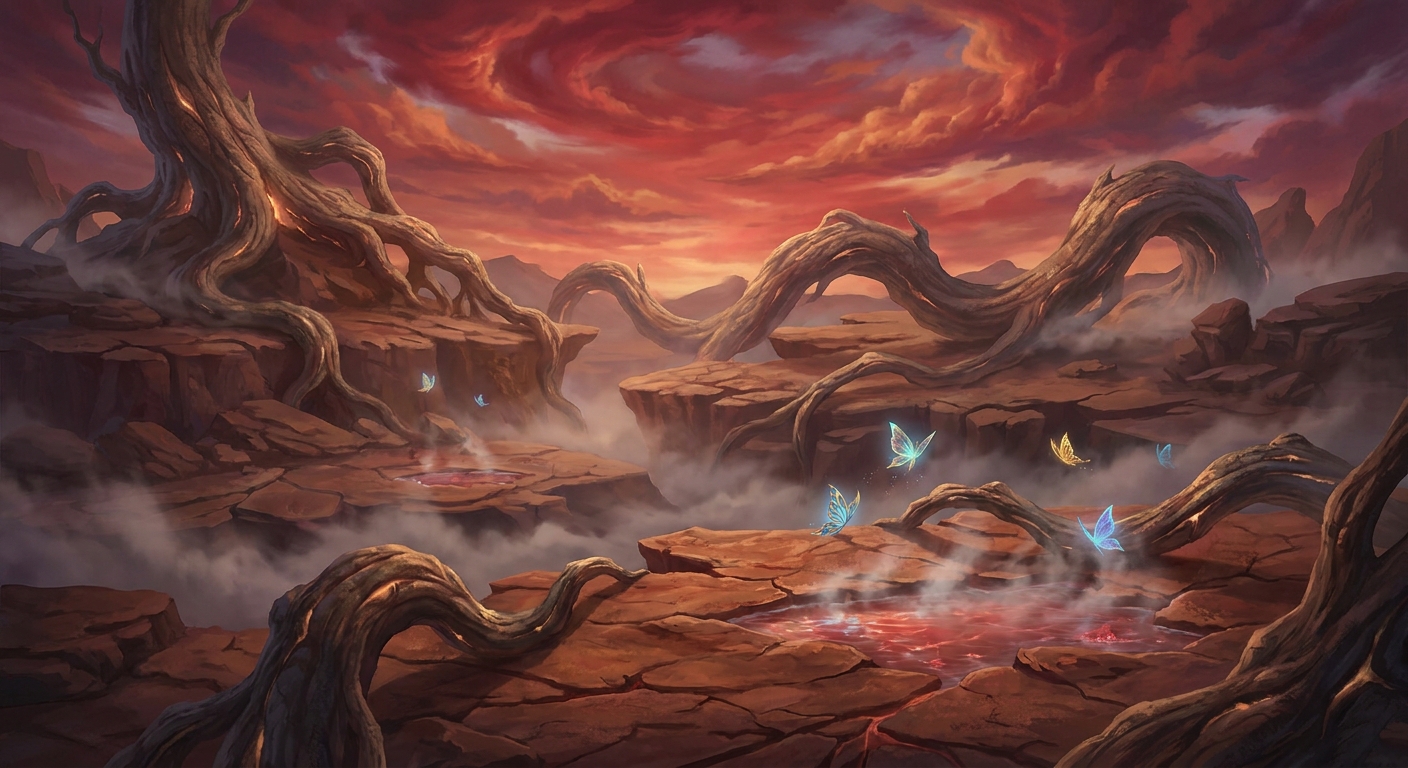
If you just stumbled into caelid for the first time, you probably felt that immediate drop in your stomach. The sky turns a blistering blood red, the ambient music shifts into a horrifying dirge, and suddenly you are surrounded by deformed wildlife that wants to chew your face off. I know exactly how you feel. I actually remember playing through this absolute nightmare zone during the rolling blackouts in Kyiv back in the winter. The power would literally cut out just as I was desperately dodging those giant, terrifying dogs, leaving me staring at a pitch-black screen with my heart pounding out of my chest. It was the perfect, stressful atmosphere for the most hostile environment in gaming.
This place is essentially a beautifully crafted hellscape, designed to test everything you have learned so far. But here is the real secret between you and me: you actually want to be here as early as possible. Seriously. While your instincts are screaming at you to run back to the green pastures of Limgrave, this crimson wasteland hides some of the most overpowered early-game equipment ever coded into existence. We are going to map out exactly how you can navigate the madness, grab the loot, and get out alive without snapping your controller in half.
You are going to need a solid game plan, a fast horse, and a lot of courage. Grab a coffee, sit back, and get ready to master the rot.
Why You Need to Brave the Crimson Wastes Early
Going into this blighted land before you are highly leveled sounds like a terrible idea on paper. Everything hits like a freight train, the environmental hazards will melt your health bar, and the bosses are legendary for their aggressive tracking. However, the value proposition of rushing this zone is undeniably massive. The gear you pick up here can literally carry you through the next fifty hours of your playthrough.
For instance, mages can snag the Meteorite Staff and Rock Sling spell within ten minutes of arriving, instantly turning their character into a long-range powerhouse. Melee users can grab the Moonveil katana or the Greatsword, two absolute staples for high-damage builds. Yes, the enemies are vicious, but you do not actually have to fight most of them right away. Your spectral steed, Torrent, is your best friend here, allowing you to sprint past the danger and scoop up the treasures.
| Enemy Type | Threat Level | Best Counter Strategy |
|---|---|---|
| Monstrous Dogs | Extreme | Do not engage early. Sprint away on Torrent or use fire pots if cornered. |
| Giant Crows | Nightmare | Avoid completely. Their hitboxes are erratic and they deal massive posture damage. |
| Vulgar Militiamen | Moderate | Guard counters and jumping attacks. Watch out for their bleed damage. |
| Cleanrot Knights | High | Parry their thrusts or use heavy staggering weapons to break their poise. |
To pull off these early loot runs, you need to prepare properly. Here are the absolute essentials you must bring with you:
- Preserving Boluses: These little pink pills cure the local plague. You can craft them or buy a few from merchants. Never leave home without them.
- A 100% Physical Defense Shield: If you get caught off guard by a swift attack, a good shield will save your life while you panic-roll away.
- The Beast-Repellent Torch: This item is a literal lifesaver. When held, it stops many of the feral beasts in the area from attacking you immediately, giving you precious seconds to escape.
Origins of the Region
To truly understand the danger you are facing, we have to talk about what happened here. Long before the current events of the game, this area was a relatively normal, thriving landscape. It had lush areas, grand cities, and a booming population. It was the proud domain of General Radahn, one of the mightiest demigods to ever live. Radahn was so powerful he literally learned gravity magic just so he could continue riding his beloved, scrawny horse without crushing it. He held back the stars and commanded a fiercely loyal army.
Evolution of the Rot
Everything changed during the catastrophic event known as the Shattering. Malenia, another immensely powerful demigod, marched her forces south to challenge Radahn. Their battle was absolutely biblical, shaking the very foundations of the continent. When it became clear she could not beat Radahn in a contest of pure martial skill, Malenia did the unthinkable. She unleashed the dark, biological weapon sealed inside her: the Scarlet Aeonia. This massive, horrific flower bloomed across the battlefield, releasing a devastating plague that instantly vaporized armies and permanently mutated the entire ecosystem.
Modern State of the Wasteland
Fast forward to the present day, and the aftermath of that battle is what you see before you. The plague did not just kill the inhabitants; it changed them. It infected the soil, turning the water into toxic sludge and the sky into a permanent bloody twilight. Radahn himself was infected, losing his mind and wandering the eastern dunes as a feral cannibal. Even now in 2026, players are still arguing fiercely on forums about whether Malenia was justified in destroying a whole continent just to secure a stalemate. Walking through this zone is like walking through a living, breathing post-apocalyptic museum.
The Biology of Scarlet Rot
Let us talk mechanics and biology. The primary hazard here is a status effect that functions essentially like a hyper-aggressive fungal infection. In scientific terms within the lore, it acts somewhat similarly to a real-world cordyceps fungus, hijacking the nervous systems of the local wildlife and causing grotesque, exaggerated physical growth. That is why the dogs and crows are the size of minivans. When you step into the bubbling red swamps, an invisible meter starts filling up on your screen. If that meter caps out, your character contracts the disease.
Architecture and Decay Mechanics
Mechanically, this status effect is vastly more dangerous than standard poison. While poison slowly chips away at your health, this plague aggressively drains your hit points based on a percentage of your total health pool, meaning it kills high-level characters just as fast as low-level ones. The architecture of the region reflects this decay, with buildings visibly melting and massive, fungal growths tearing through solid stone.
- The plague deals continuous damage equal to a flat rate plus a percentage of your maximum HP every second.
- Standing in the swamp causes the buildup, but rolling in the swamp coats your armor in it, meaning the meter will continue to fill even after you step onto dry land.
- Flame, Cleanse Me is a low-requirement incantation that cures the status instantly, making it the most valuable utility spell for this zone.
- The massive white dragons found resting in the area are heavily afflicted, barely able to move due to the neurological decay caused by the environment.
Step 1: Secure the Smoldering Church Grace
Your first mission is just to get a foothold. Ride east from Limgrave, past the Summonwater Village, until the sky starts changing color. You will see a ruined church. Be careful as an NPC invader spawns here. Defeat them or just run past to touch the Site of Grace. This is your safe checkpoint and your gateway into the nightmare.
Step 2: Grab the Map Fragments
You cannot plan a route if you cannot see the map. Stick to the main road heading south. Dodge the massive roaming beasts and look for the glowing pillar by the side of the road. Snag the southern map fragment first, then navigate carefully towards the northern section. Having the topography visible will prevent you from accidentally riding off a cliff into a toxic swamp.
Step 3: Raid the Street of Sages Ruins
This is where the real money is. Deep in the heart of the central swamp lies a ruined town. You need to ride Torrent directly through the sludge, ignoring the enemies popping out of the muck. Head to the ruined towers. In one cellar, you will find the Rock Sling spell. Hanging off a corpse in a nearby broken tower is the Meteorite Staff. Grabbing these two items turns any intelligence build into an unstoppable force.
Step 4: Sneak Through Sellia, Town of Sorcery
Next, you need to head east to the magic town. The inhabitants here are invisible until they attack, which is terrifying. Your goal is to light the three flames hidden in the high towers. Use the rooftops to bypass the enemies on the ground. Lighting the flames breaks the magical seals around town, granting you access to memory stones and powerful talismans to boost your stats.
Step 5: Farm the Vulgar Militiamen
If you need some quick levels, head to the far northeast near the Bestial Sanctum. The little guys wandering the muddy hills here are easily staggered and drop over 1,000 runes each. Spend an hour backstabbing them, and you can easily jump up ten to fifteen levels, giving you the stat padding you need to survive the harder encounters.
Step 6: Defeat Commander O’Neil
Deep in the swamp, surrounded by a thick circle of tangled roots, is a boss who wields a massive standard. He summons helpers and uses sweeping wind attacks. The trick here is to stay on horseback, bait his summons away, deal with them first, and then slowly chip away at his health. Defeating him rewards you with the Unalloyed Gold Needle, a crucial quest item.
Step 7: The Radahn Festival Preparations
Your final objective in this zone is the grand castle in the extreme south. You need to trigger the festival, which generally happens after resting at a grace on the Altus Plateau or progressing a specific witch’s questline. Once the festival begins, the castle empties out, allowing you to walk right in, chat with the assembled warriors, and take the elevator down to the beach to face the fallen general himself.
Myths & Reality of the Red Wastes
Myth: You absolutely must be level 60 or higher to even step foot in this area.
Reality: You can ride into this zone at level 1 right out of the tutorial. While fighting is suicidal at that level, the area is completely open for exploration and looting if you are fast enough on your horse.
Myth: The giant birds and dogs can be easily blocked with a good shield.
Reality: Their attack chains are relentless and their hitboxes are massive. Attempting to block a full combo from one of these beasts will drain your stamina instantly, break your guard, and leave you open to a fatal bite. Dodging is mandatory.
Myth: The toxic rot status effect is permanent until you rest at a checkpoint.
Reality: While it is incredibly lethal, it can be cured anywhere in the field using Preserving Boluses or specific incantations like Flame, Cleanse Me. Always carry the cure.
How do I cure the rot status quickly?
The fastest way is to consume a Preserving Bolus. You can also cast the Flame, Cleanse Me incantation, which only requires 12 Faith, making it accessible for almost any character build with a minor stat investment.
Where exactly is the Meteorite Staff located?
It is in the Street of Sages Ruins, right on the edge of the central Aeonia Swamp. Look for a small, ruined brick tower holding a corpse hanging out of a window. The staff is on that corpse.
Can I tame or distract the giant dogs?
You cannot tame them, but you can distract them using the Beast-Repellent Torch. Holding this torch in your off-hand will cause many of the dogs to back away slowly instead of immediately lunging at you, giving you breathing room.
Who is the main demigod boss here?
General Starscourge Radahn is the shardbearer of this region. He is located at the very southern tip of the map through Redmane Castle, but you can only fight him once the festival event has been properly triggered.
Is there any completely safe zone in the region?
Gowry’s Shack, located just south of Sellia, is relatively safe once you are inside, as enemies rarely follow you in. The Beastial Sanctum in the far north is also a sanctuary, provided you do not attack the giant gargoyle standing guard outside.
How do I trigger the boss festival?
You can start the festival by either reaching the Altus Plateau region later in the game and resting at a grace, or by following Ranni’s questline and speaking to her associates who will point you toward the castle.
What character level is genuinely recommended for fighting here?
If you want to clear out the dungeons, fight the bosses, and explore comfortably without getting one-shot, you should aim to be between level 60 and 70, with your main weapon upgraded significantly.
Surviving this blood-red desert is a rite of passage. It is brutal, unforgiving, and visually terrifying, but mastering it proves you truly understand the mechanics of the game. Gear up, pack your boluses, and ride out into the wastes to claim your power!




Leave a Reply