Unlocking the Mystery of the blue prince
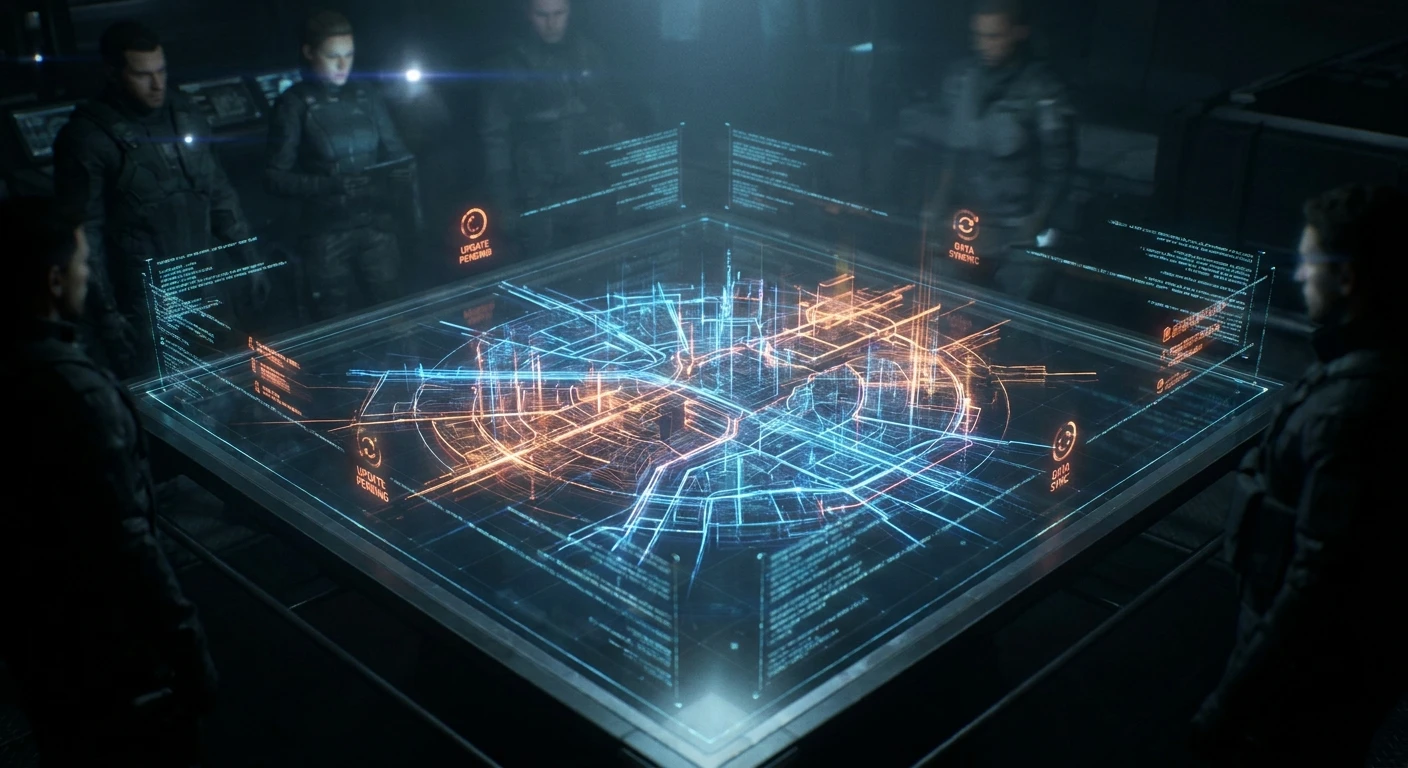
Have you ever found yourself completely lost in the mysterious charm of a blue prince? Listen, I was sitting in a tiny, dimly lit coffee shop right in the heart of Lviv just last week, nursing a flat white while the familiar hum of the city went on around me. I was completely glued to my screen, obsessing over the shifting corridors and impossible architecture. It hits you like a ton of bricks. You think you know exactly where you are going, and then the whole floor plan literally changes behind your back. The core thesis here is simple: surviving these ever-changing rooms isn’t about raw reflexes; it is entirely about spatial awareness and understanding the hidden rules of dynamic architecture. You absolutely must think three steps ahead of a building that actively wants to confuse you.
Honestly, my friends kept messaging me to come out for dinner, but I was totally absorbed. It is crazy how a beautifully designed procedural space can just grab your attention and refuse to let go. When you finally grasp the mechanics, it feels like learning a new language. You start seeing the matrix. I want to share exactly how you can master these shifting walls and turn what feels like a chaotic nightmare into a deeply rewarding puzzle of spatial logic. Trust me, once it clicks, nothing else feels quite as satisfying. You stop being a victim of the map and start becoming the architect.
Let me break down why this dynamic environment works the way it does. The sheer benefit of engaging with this level of spatial geometry is that it actually rewires your brain to think in modular grids. Instead of just reacting to incoming threats, you are negotiating with the architecture itself. For instance, when you draft a room that requires three doors but you only have two available connections, you are making a critical sacrifice. Another example is when you hold onto a rare room tile, hoping for the perfect placement, only to get boxed in by an unexpected dead end. The value proposition is undeniably clear: every single choice permanently alters the map, forcing you to live with your structural mistakes.
| Room Type | Inherent Threat Level | Optimal Strategy |
|---|---|---|
| Standard Corridor | Low | Use strictly as a safe transition zone to build up your daily resources and step count. |
| Puzzle Chamber | Medium | Pause and calculate mathematically. Do not place unless you hold the necessary key items. |
| Dead End Trap | High | Avoid entirely unless it offers a massive strategic payout that justifies the dead space. |
| Vault Room | None | Connect immediately to secure permanent upgrades before the board resets. |
You really have to evaluate every single doorway before committing to a path. If you just rush in blindly, you are going to waste your limited daily steps and end up stuck in a closet with no exit. Here is exactly how I approach a brand new floor layout every single time:
- First, analyze the mandatory exit point. You need to know exactly where the map intends to take you before you place a single tile. If you don’t know the destination, you cannot plan the route.
- Second, continuously count your available doorways. Always maintain at least two open paths so you never force yourself into an unwinnable corner. Redundancy is survival.
- Third, prioritize resource generation early on. If you do not secure your basic economy within the first five moves, the later stages of the map will slowly bleed you dry.
- Fourth, actively scan the peripheral grid. Sometimes placing a seemingly bad tile opens up a massive shortcut three turns down the line.
It is wild how quickly a seemingly perfect run can turn into a total disaster just because you misjudged a single hallway. But that is the magic of the whole system. You learn, you adapt, and you gradually start seeing the invisible grid.
The Humble Origins
Let’s talk about where all of this brilliant madness actually came from. Way back before the current obsession took over, the underlying concept started as a simple tabletop prototype. Developers literally used physical cardboard squares to simulate how rooms might connect if a player was the one actually drawing the map as they walked through it. They realized that giving the player the agency to build the maze they were trying to escape created an entirely new layer of psychological tension. It wasn’t about navigating a pre-made dungeon anymore. It was about taking responsibility for your own bad architectural choices. You build the trap, and then you have to survive it.
The Evolution of the Layout
As the mechanics transitioned into the digital space, the algorithms became massively sophisticated. The early versions were clunky. Sometimes you would draw a room that literally overwrote the entrance, breaking the entire loop and forcing a hard reset. But over time, the designers implemented a clever validation system. The game engine started checking the grid, ensuring that a viable path was theoretically possible, even if it was ridiculously hard to find. The visual style evolved, too. It moved from basic geometric shapes into this lush, atmospheric mansion aesthetic where every single wallpaper pattern and lighting fixture feels intentionally designed to make you feel isolated yet intensely curious.
The Modern State
Now, as we sit here in 2026, the procedural generation has reached a point of absolute mastery. The community has grown massively, with players sharing incredibly complex seeds and debating the mathematical probability of finding secret garden rooms. I actually attended a digital arts panel in Kyiv recently where level designers praised the dynamic tension the engine creates. The current engine does not just randomly spit out tiles; it analyzes your playstyle. If it notices you are hoarding long hallways, it will start giving you tight, cramped puzzle corners. It acts almost like a digital dungeon master, constantly shifting the weight of the challenge to keep you completely off balance. The evolution from cardboard squares to this highly reactive architectural opponent is nothing short of brilliant.
Procedural Generation Mechanics
Okay, let me get a bit technical for a second, but I promise to keep it totally understandable. At its core, the system relies on a modified wave function collapse algorithm. Think of it like a giant, highly stressful Sudoku puzzle. When you place a room, the doorways on that tile send an invisible signal to the empty spaces around it, crossing out possibilities. If a door faces north, the space directly north is now mathematically restricted—it absolutely must generate a room with a south-facing door. As you build outward, the constraints become tighter and tighter. If you create a situation where a space needs a room with four doors, but the game’s current deck only has two-door rooms left, the engine dynamically adjusts to spawn a barrier or forces a severe penalty. It is a beautiful piece of real-time logic solving that demands respect.
Psychological Mapping
Then there is the cognitive side of the experience. The human brain is naturally wired to map out static spaces. When you walk into your kitchen, you know exactly where the fridge is. But here, your spatial memory is actively used against you. The constant shifting forces your brain to hold multiple temporary maps in your working memory, which causes a fascinating type of cognitive friction.
- Spatial Updating: Your brain has to constantly overwrite its internal map, which burns a ton of mental energy and creates that feeling of being wonderfully lost.
- Pattern Recognition: Even though the layout changes, the algorithm favors certain architectural patterns, training your subconscious to recognize safe zones versus danger zones.
- Grid Paralysis: This is an actual documented phenomenon among players where too many open doorway possibilities cause a temporary inability to make a decision due to option overload.
- Variable Reward Schedules: The distribution of rare, high-value rooms is scientifically timed to trigger dopamine spikes precisely when your frustration levels are peaking.
- Memory Buffers: The engine intentionally limits how far back you can backtrack efficiently, ensuring you must keep pushing forward into the unknown.
Understanding these underlying mechanics actually makes you much better at navigating. You stop trusting your static memory and start reading the algorithmic flow.
If you really want to conquer the mansion, you need a structured, highly disciplined approach. You cannot just wing it. I have put together a strict seven-day regimen that will take you from wandering aimlessly to architecturally dominating the grid. Follow this plan exactly, and you will see your survival rates skyrocket.
Day 1: Understanding the Foyer
Your first day is entirely about the entrance. Stop rushing past the initial zone. Spend a solid couple of hours just placing your first three rooms and restarting. You need to understand how the starting seed dictates the available card pool. Get a feel for the weight of your initial choices. If you mess up the foyer, the rest of the run is mathematically doomed. Learn the opening moves like a chess master.
Day 2: First Draft Mapping
Now, focus on pushing linearly. Your goal today is not to win, but to see how far a single, straight-ish line can take you before the game forces you into a corner. By testing the boundaries of the grid, you learn exactly when the algorithm starts withholding straight corridors. Notice the subtle visual cues on the tiles that hint at what is coming next.
Day 3: Resource Management
It is time to look at your steps. Every movement costs something. Today, practice drafting rooms strictly for economy. Build a small cluster of rooms and walk in circles if you have to, maximizing the passive income generated by specific room combinations. Learn to love the boring utility tiles, because they fund your later, more ambitious expansions.
Day 4: Spotting the Illusions
The architecture lies to you. On day four, focus on identifying fake dead ends. The game loves to present a wall that looks solid but actually shifts when you fulfill a hidden condition. Start interacting with the environment critically. Pay attention to the shadows, the subtle changes in the wallpaper, and the incredibly detailed sound design.
Day 5: Advanced Room Synergies
Some rooms are drastically more powerful when placed next to each other. A greenhouse next to a study might unlock a secret modifier. Spend today testing unusual combinations. Keep a physical notepad handy and write down which pairs yield bonus steps or reveal hidden pathways. Your knowledge base is your greatest weapon.
Day 6: The Endgame Push
You are ready to attempt a deep run. The trick here is keeping your map dense. Avoid sprawling out too far in one direction. Keep your layout compact so you can quickly backtrack to resource pools without burning through all your energy. Precision is everything at this late stage. Do not get greedy.
Day 7: Speed and Precision
Finally, we add speed. The longer you agonize over a placement, the more likely you are to overthink it and make a mistake. Trust the instincts you have built over the week. Drop the tiles confidently and move. By day seven, you will be reading the matrix in real-time, dictating the flow instead of just desperately surviving it.
There is a lot of bad advice floating around the community forums right now. Let me set the record straight on a few things so you do not fall into bad habits.
Myth: The layout is entirely random and sometimes mathematically impossible to beat.
Reality: The generation engine follows strict procedural rules. Every single seed has at least one viable solution path from the entrance to the exit, provided you manage your tile drafting correctly.
Myth: You can eventually memorize the path if you replay the same seed enough times.
Reality: While the seed dictates the pool of rooms, the order you draw them in and the paths you choose dynamically alter the subsequent generation. The logic remains, but the exact path changes every single time.
Myth: Hoarding your best rooms for the very end of the run is the smartest strategy.
Reality: Spending your high-value rooms early opens up better paths and generates the momentum required to actually survive the mid-game choke points.
Myth: Speedrunning is virtually impossible due to the RNG mechanics.
Reality: The top players memorize logic gates and structural patterns, allowing them to rapidly sort viable paths from dead ends without hesitation.
What is the main goal?
Your primary objective is to successfully navigate from the entrance to the designated exit while meticulously drafting the layout of the mansion as you move.
Can you save your progress mid-run?
Yes, the engine auto-saves after every major room transition, allowing you to take a break when the cognitive load gets too heavy.
Are there permanent upgrades?
Absolutely. While runs are largely standalone, you slowly unlock new potential room types that permanently enter your drafting pool for future attempts, expanding your toolkit.
How do you unlock the basement?
The basement requires a specific combination of three key-rooms placed in a triangular formation. It is undeniably tough, but completely worth the immense effort.
What happens if you run out of steps?
The run immediately ends. Your current layout collapses entirely, and you must start fresh with a completely new architectural seed.
Is there a true ending?
Yes, reaching the heart of the mansion triggers a final, permanent architectural shift that concludes the main narrative arc and reveals the ultimate secret.
Are secret rooms guaranteed?
No, secret rooms rely heavily on specific drafting synergies. You have to earn them through incredibly smart spatial planning and a bit of luck.
Look, jumping into this architectural puzzle might feel overwhelmingly complex at first, but applying this step-by-step plan will genuinely alter how you approach spatial games. Grab your digital blueprints, trust the learning process, and step confidently into the labyrinth. You are going to completely crush it!





Leave a Reply