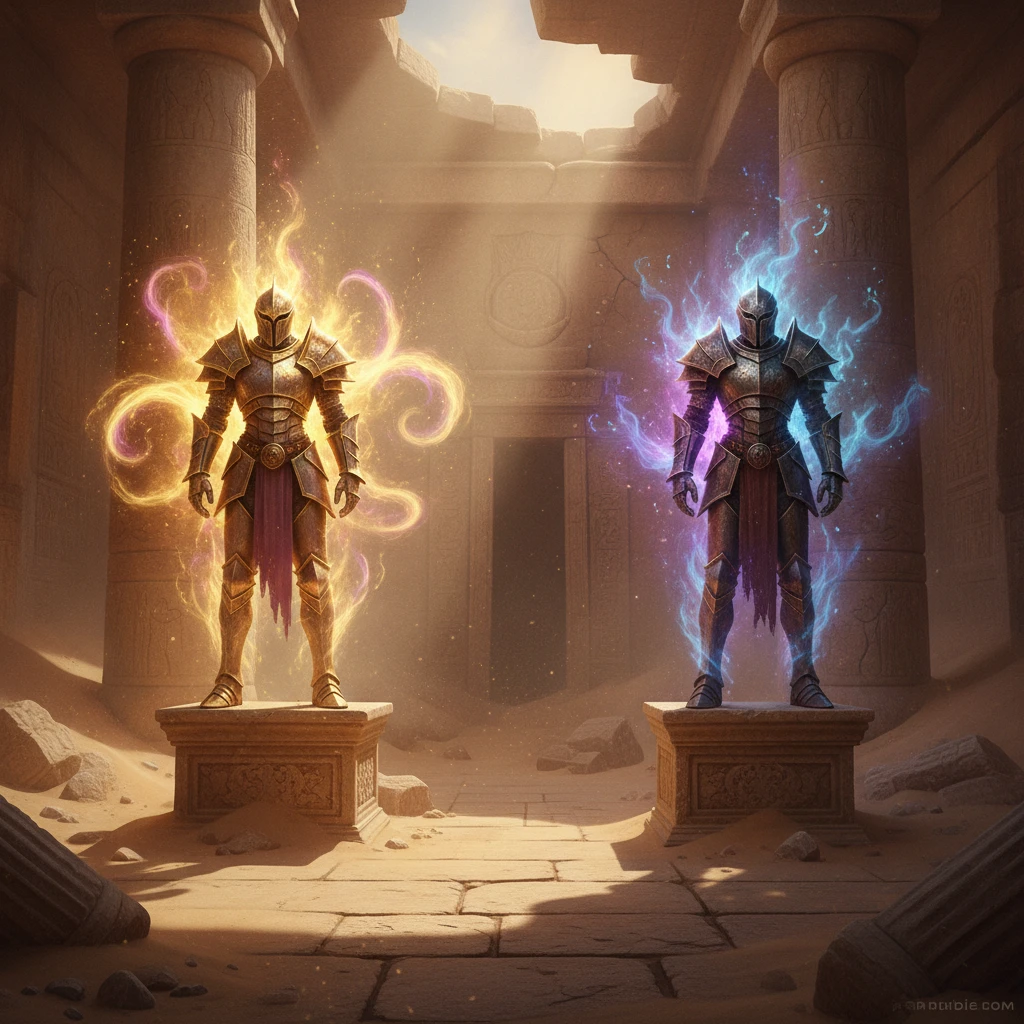
How to Evolve Charcadet: The Complete Walkthrough
Hey there, if you are pulling your hair out trying to figure out exactly how to evolve charcadet, you are definitely not alone. When I first grabbed my copy of Pokémon, I spent hours just running around the early routes with this little fiery knight, wondering why it simply refused to evolve after hitting level 30, then 40, and so on. The reality is that getting your hands on the incredibly powerful Armarouge or Ceruledge requires a very specific fetch quest, not just grinding levels.
I still remember sitting in a dimly lit, cozy coffee shop in Kyiv during a winter snowstorm, my Switch running low on battery, desperately battling random wild encounters hoping for an evolution screen that never came. My local friends were doing the exact same thing. We were all missing the crucial piece of the puzzle: specific regional armor items scattered across the Paldea region.
This guide gives you the exact blueprint. Instead of relying on traditional leveling mechanics, you have to trade specific crafting materials to a seemingly random NPC hidden away in a dusty mining town. Trust me, once you know the exact coordinates and the items you need, upgrading your little fire warrior takes less than twenty minutes.
The Core Mechanics of the Armor Upgrades
To fully grasp what we are doing here, you need to understand the value of this branching evolution path. Game Freak gave us a highly unique setup with this fiery companion. You are essentially choosing between two completely different battle philosophies, locked behind which version of the game you are playing.
If you have Pokémon Scarlet, your end goal is Armarouge, a Fire/Psychic type that acts as a bulky special attacker. If you are playing Pokémon Violet, you get Ceruledge, a Fire/Ghost type that operates as a lightning-fast, physical damage sweeper with built-in healing mechanics. Both are absolute powerhouses, but they require entirely different materials to unlock.
Here is a quick breakdown of what you are aiming for:
| Evolution Name | Required Evolution Item | Material to Farm (Quantity) |
|---|---|---|
| Armarouge (Scarlet) | Auspicious Armor | 10 Bronzor Fragments |
| Ceruledge (Violet) | Malicious Armor | 10 Sinistea Chips |
| Charcadet (Base Form) | N/A | N/A (Found in the wild) |
The core process is surprisingly straightforward once you break it down into a macro perspective. You do not need to overcomplicate it. Here is the fundamental game plan you need to execute:
- Locate the base Pokémon: Find and catch your fiery friend in the early game areas of Paldea.
- Farm the specific materials: Head to the ruins and use the auto-battle feature to quickly gather ten pieces of the required ghost or steel materials.
- Execute the trade: Travel to Zapapico city and hand over your materials to the antique collector in exchange for the evolutionary armor.
The massive benefit here is that you can do this as early as level 15 or 20 if you are brave enough to dodge high-level encounters in the desert areas. Getting a fully evolved, top-tier monster before your third gym badge completely breaks the early game difficulty curve in the best way possible.
The Origins of Paldean Armor
The lore behind these items is honestly fascinating. The Paldea region is steeped in ancient history, featuring an old empire that eventually collapsed. The armors you are hunting for aren’t just random items; they are relics from this forgotten era. The Auspicious Armor is said to belong to a noble warrior who protected the innocent, carrying psychic energy imbued by generations of goodwill. On the flip side, the Malicious Armor belonged to a fallen knight consumed by regrets, which is why it grants the Ghost typing.
The Evolution of Version Exclusives
Version exclusives have been a staple since Red and Blue back in the 90s, but they usually meant you just had to trade a Vulpix for a Growlithe. The way this specific evolutionary line is handled represents a massive shift in game design. Instead of just locking the creature itself to a cartridge, the developers locked the culture and the items required to get them. This encourages players to communicate and trade the held items themselves, rather than just the monsters.
The Modern State of Item Evolutions
Now that we are solidly in 2026, the competitive meta and the way we approach RPG mechanics have totally shifted. We expect interactive fetch quests rather than just using a simple Fire Stone. The community absolutely loves this mechanic because it feels like you actually earned the evolution. You had to go out, defeat specific enemies, scavenge their dropped loot, and barter with a local merchant. It feels like an actual adventure rather than just a menu click.
The Stat Mechanics Behind the Armors
Let us talk numbers and technicals for a second. Slapping these armors on your Pokémon doesn’t just change their look; it completely rewrites their base stat distribution and combat role. Armarouge gets a massive boost to Special Attack and Physical Defense. It is designed to sit in the middle of the battlefield, take hits, and fire back with devastating psychic energy. Ceruledge dumps its stats into Physical Attack and Speed, sacrificing bulk for pure, unadulterated sweeping power.
Typing Synergies Explained
The typing you end up with dictates your entire playthrough. Fire/Psychic is incredible defensively against fighting and psychic types, but leaves you vulnerable to dark and ghost moves. Fire/Ghost gives you three complete immunities (Normal, Fighting, and Fire if you have the Flash Fire ability), making Ceruledge one of the easiest Pokémon to safely switch into during a tough battle.
- Base Stat Total: Both evolutions share a 525 BST, putting them on par with many starter Pokémon.
- Signature Moves: Armarouge learns Armor Cannon (high damage, lowers defenses), while Ceruledge learns Bitter Blade (heals the user for 50% of the damage dealt).
- Primary Abilities: Both get Flash Fire, which absorbs incoming fire attacks and boosts their own fire damage.
- Hidden Abilities: Weak Armor is available, which drops defense but sharply raises speed when hit by a physical attack.
Step 1: Catching Your Fire Child
First things first, you need the base Pokémon. While they have a low spawn rate, you can easily find them in South Province (Area Three) or practically any rocky biome in the lower half of the map. If you are struggling, eat a sandwich that boosts Fire-type encounter rates. You will see them running around like little red sparks in no time.
Step 2: Identifying Your Version Goal
Check your game case. If you have Scarlet, you are hunting Bronzor. If you have Violet, you are hunting Sinistea. This dictates exactly which direction you need to run on the map. Don’t waste time hunting the wrong target; the antique collector simply will not accept the wrong materials.
Step 3: Traveling to the Ruins
For Bronzor, you want to head to the ruins scattered around the Asado Desert or South Province Area Two. For Sinistea, you need to head towards the bottom right of the map near Alfornada, or the ruins located in South Province Area Six. Look for crumbling stone walls; that is where these specific creatures like to spawn.
Step 4: Defeating Bronzor or Sinistea
Do not waste your time entering actual turn-based battles. Press the ‘R’ button to send out your lead Pokémon to auto-battle. Let your partner run wild and defeat 10 of these creatures in the overworld. Every time one is defeated, you will see a tiny notification on the right side of your screen showing that you collected a fragment or a chip.
Step 5: Heading to Zapapico City
Once you have exactly 10 materials, open your map and look for Zapapico. It is a rugged mining town located in the East Province (Area Three). You can reach it fairly early in the game if you bypass the massive crater in the center of the map by traveling up the eastern coastline and cutting inland.
Step 6: Locating the Antique Collector
When you fly into Zapapico (East) fast travel point, walk straight ahead towards the small fountain in the middle of town. Standing near this fountain is a man in a plaid shirt with a yellow speech bubble above his head that says something about a trade. Talk to him.
Step 7: Applying the Armor Item
He will gladly take your 10 fragments or chips and hand you the exclusive armor. Now, simply open your bag, scroll over to the ‘Other Items’ pocket (where your evolution stones are kept), select the armor, and use it on your companion. The evolution screen will immediately trigger!
Myths: Separating Fact from Fiction
There is a ton of misinformation floating around the community boards about this process, so let’s clear it up right now.
Myth: You can only get one armor set per save file.
Reality: You can talk to the NPC in Zapapico as many times as you want! As long as you have 10 materials, he will keep giving you armors. You can evolve a whole team of them if you desire.
Myth: You have to level up at night while holding the armor.
Reality: Nope! The armor functions exactly like a Water Stone or Fire Stone. Just click it in your bag and use it. Time of day and current level are completely irrelevant.
Myth: You absolutely cannot get the opposite version’s evolution.
Reality: You totally can. Have a friend playing the opposite version give the armor to a random Pokémon to hold, and trade that Pokémon to you. Take the item off, and use it on your own caught monster.
Myth: The evolution is shiny-locked.
Reality: Not at all. If you manage to catch a shiny base form with blue eyes, using the armor will result in a shiny evolution with distinct eye colors.
Can I breed them to get more base forms?
Yes, absolutely. Just set up a picnic with a Ditto and your Armarouge or Ceruledge, and you will get eggs that hatch into the base fire form.
Does the level I evolve at matter for stats?
No, stats retroactively calculate in modern games. Whether you evolve at level 15 or level 99, your final stats at level 100 will be exactly the same.
What is the best nature to look for?
For Armarouge (Scarlet), aim for a Modest nature to boost Special Attack. For Ceruledge (Violet), you want an Adamant or Jolly nature to maximize physical damage and speed.
Where exactly is Zapapico on the map?
It is in the eastern half of Paldea, nestled right next to the massive crater in the center. Look for the barren, rocky terrain on your map.
Is there a level requirement for the trade?
None at all. The NPC only checks your inventory for the 10 specific crafting materials. Your party’s level is totally ignored.
Can I use a standard Fire Stone?
No. Even though it is a pure fire type initially, standard evolutionary stones have absolutely zero effect on it.
Can I change their abilities later?
Yes, you can use an Ability Patch later in the game to swap them from Flash Fire to their hidden ability, Weak Armor.
Wrapping Up Your Adventure
Getting your hands on these incredible elemental knights is one of the most rewarding early-game quests you can do. Now that you know the exact steps, there is no need to wander around the desert aimlessly. Grab those fragments, make the trade, and enjoy dominating the gym leaders with your newly upgraded partner. If you found this walkthrough helpful, be sure to share it with your friends who might still be struggling to get their own armor!

Leave a Reply