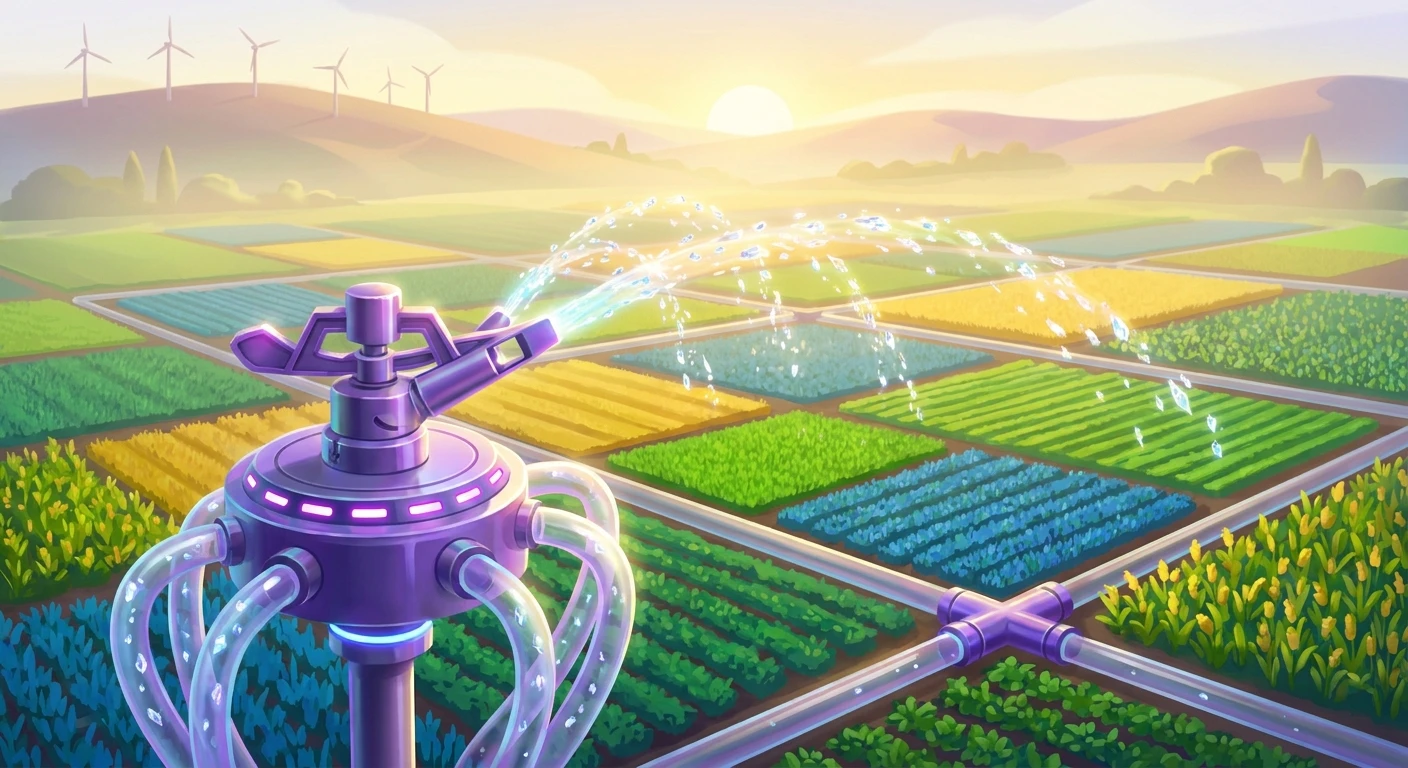
Mastering the Iridium Sprinkler Range for Ultimate Farming
Getting a firm grip on the exact iridium sprinkler range is an absolute game-changer for your daily farming routine. Look, I have spent hundreds of hours staring at crop layouts, and trust me, nothing beats waking up to fully watered fields without lifting a finger. It honestly takes me back to my childhood summers visiting my grandparents’ dacha just outside of Kyiv. We would wake up at the crack of dawn, lugging heavy metal watering cans across endless rows of potatoes and tomatoes. It was backbreaking work that took half the day, leaving us exhausted before noon. Now, even back home in Ukraine, modern automated irrigation systems are taking over, giving people their precious time back. That same principle applies perfectly to your virtual farm setup.
When you unlock this top-tier irrigation tool, you are not just upgrading a piece of equipment; you are completely buying back your morning schedule. Instead of wasting your stamina bar pouring water on individual dirt patches, you can immediately hit the mines, go fishing, or socialize with the townspeople. Understanding the exact grid layout is what separates casual players from hardcore farm millionaires. You need to know how to overlap these grids perfectly, avoid dead zones, and maximize every single tile of arable land on your property. Stick with me, and I will walk you through exactly how to set up your dream farm using this massive watering radius.
The Core Benefits and Grid Mechanics
So, how does it actually work? The core mechanic is simple but incredibly powerful: it waters a 5×5 grid, covering a total of 24 tiles, with the sprinkler itself sitting dead in the center. Think about that for a second. Twenty-four crops watered automatically, every single morning, without fail. If you place just four of these bad boys in a square, you are suddenly managing nearly a hundred crops with zero daily energy cost. This setup allows you to scale your farming operations to industrial levels, paving the way for massive artisan goods production like ancient fruit wine or starfruit jelly.
Here is a quick breakdown comparing your irrigation options to show you exactly why you need to rush this upgrade.
| Sprinkler Type | Coverage Area | Crafting Materials Needed |
|---|---|---|
| Basic Sprinkler | 4 tiles (adjacent cross) | 1 Copper Bar, 1 Iron Bar |
| Quality Sprinkler | 8 tiles (3×3 grid) | 1 Iron Bar, 1 Gold Bar, 1 Refined Quartz |
| Iridium Sprinkler | 24 tiles (5×5 grid) | 1 Gold Bar, 1 Iridium Bar, 1 Battery Pack |
To truly get the most out of your setup, you need a solid strategy. Here is a foolproof way to transition your farm:
- Clear your entire planting area: Remove all rocks, logs, and weeds to create a massive, uninterrupted dirt canvas.
- Measure the 5×5 blocks: Use paths or stepping stones to mark out the exact center tile where your sprinkler will sit, ensuring there are two tiles of dirt in every direction.
- Lay down your fertilizer: Before planting your seeds, drop your speed-gro or retaining soil on all 24 tiles.
- Plant and forget: Drop your most profitable seeds into the grid, place your sprinkler on the center marker, and watch the money roll in.
The Origins of Automated Farming
Back in the early days of your farming journey, automation felt like a distant dream. We all started with that rusty, basic watering can, right? Upgrading to copper and steel helped slightly by allowing you to water three or five tiles at a time in a straight line, but you still had to manually walk the fields and drain your energy. The introduction of the basic sprinkler was a tease—watering only four tiles in a plus shape made farm layouts look incredibly awkward and inefficient. Players quickly realized that basic sprinklers were basically a trap that wasted valuable early-game ores.
The Evolution of Sprinkler Tech
Then came the mid-game savior: the quality sprinkler. Covering eight tiles in a neat 3×3 square, this was the first time you could actually create aesthetically pleasing and highly functional crop grids. Entire farm layouts were designed around these 3×3 blocks. But as your ambitions grew, so did the limitations of the quality tier. Having to craft dozens of them drained your gold and iron reserves, and walking through dense fields crowded with metal poles became a hassle. The community needed something bigger, something that could handle the massive endgame fields without cluttering the screen.
The Modern State of Iridium Irrigation
Enter the endgame powerhouse. Crafting these beautiful purple machines completely shifted the meta. Suddenly, a single unit could do the work of three quality ones. The 24-tile coverage meant fewer obstructions, smoother harvesting paths, and massive monolithic fields of crops that just looked incredibly satisfying to harvest. The jump to this tier defines the transition from a struggling startup farm to a fully automated agricultural empire.
The Physics Behind the 24-Tile Spread
If we think about this mechanically, generating enough water pressure to perfectly coat a 5×5 area requires some serious internal tech. You are combining highly conductive refined gold, the mysterious and immensely dense properties of iridium, and raw electrical energy from a lightning-charged battery pack. The battery acts as a high-voltage pump, pushing water through microscopic nozzles embedded in the iridium casing. Because iridium has near-zero friction and incredible durability, the water shoots out at a perfectly calculated velocity, ensuring the droplets land precisely on the outer edges of the 5×5 grid without overshooting into the walking paths.
Pressure Systems and Water Distribution
Even as we navigate the gaming landscape of 2026, the mechanics behind fluid dynamics in these virtual worlds remain a fascinating topic for min-maxers. The internal pressure required to evenly distribute water across 24 distinct coordinate points simultaneously means the sprinkler is essentially acting as a multi-directional geyser.
- Electrical Pump: The battery pack provides a constant 12-volt charge to the internal motor.
- Rotational Velocity: Unlike real-world rotary systems, this unit fires in 24 directions simultaneously.
- Material Integrity: Iridium prevents the internal nozzles from rusting or expanding under extreme heat or freezing winter temperatures.
- Pressure Scaling: Adding an aftermarket pressure nozzle attachment boosts the internal psi, expanding the reach to an insane 7×7 grid (48 tiles).
Day 1 – Assessing Your Current Grid
Start your Monday by walking your fields and ripping out any obsolete basic or quality sprinklers. You need to map out a massive blank area. Grab some cobblestone paths and place them every five spaces to mark where your new endgame machines will go. Planning is half the battle, man.
Day 2 – Mining for Iridium Ore
You cannot build these without the rarest metal in the game. Gear up with bombs, spicy eel, and megabombs, and head down into the deepest, most dangerous caverns you can find. Ignore the copper and iron; you are hunting exclusively for those glowing purple nodes. Try to grab at least five ore per bar you plan to craft.
Day 3 – Smelting the Bars
Once you survive the mines, load up your furnaces. You will need one coal and five ore for every bar. While those are cooking, make sure you also have an equal number of gold bars ready to go. The smelting process takes a few in-game hours, so use this time to chop wood or forage.
Day 4 – Gathering Battery Packs
This is usually the biggest bottleneck. You need lightning rods placed around your farm to catch storms. If it is summer, you are in luck, as storms are frequent. Otherwise, check the traveling cart or befriend Pam, as she occasionally mails them to you. Every sprinkler needs one battery.
Day 5 – Crafting the Units
Open your crafting menu and start assembling. Watching those resources convert into high-tech purple sprinklers is easily one of the most satisfying feelings. Keep them in your hotbar so you are completely ready for deployment.
Day 6 – Mapping the 5×5 Layout
Head back to the grid you mapped out on Day 1. Use your hoe to till the 24 tiles surrounding your cobblestone markers. Make sure your layout leaves walking paths between the 5×5 grids so you can run through on horseback without getting blocked by crops.
Day 7 – Deploying and Planting
Drop the machines on your center markers. Buy your most expensive seeds—like rhubarb, starfruit, or pumpkins—and plant them in the freshly tilled dirt. Go to sleep, and wake up the next morning to see the magic happen. Completely watered fields, zero energy spent.
Myths and Reality
Myth: The sprinkler waters the tile it sits on, destroying any crop planted underneath it.
Reality: It acts as an impassable object. You cannot plant a seed on the same tile as the unit itself, meaning it covers exactly 24 tiles surrounding the center point, not 25.
Myth: You cannot use them inside the greenhouse because it ruins the floor layout.
Reality: They are absolutely perfect for the greenhouse! By placing a few along the edges and in the dirt, you can automate your year-round ancient fruit production with incredible efficiency.
Myth: They are way too expensive and not worth the resource grind.
Reality: The battery packs and purple bars might seem costly initially, but the amount of time and stamina you save makes them the highest return-on-investment item you can possibly craft.
Does the iridium sprinkler range overlap?
Yes, if you place them too close together, their watering zones will overlap. This doesn’t hurt the crops, but it wastes potential coverage area. Always space them exactly five tiles apart.
How many crops can one cover?
A standard unit waters exactly 24 crops. If you manage to find and attach a pressure nozzle, that number jumps up to an incredible 48 crops per unit.
Can I place them in the greenhouse?
Absolutely. It is the most popular strategy for creating a completely hands-off greenhouse setup, allowing you to harvest continuously growing crops like ancient fruit indefinitely.
Do they work on garden pots?
No. Unfortunately, automated watering systems do not interact with indoor or outdoor garden pots. You still have to water those by hand with your watering can.
How do I get more batteries?
Build a massive farm of lightning rods (at least 15-20) and wait for a stormy day. You can also occasionally buy them from the traveling merchant or receive them as gifts.
Is it better than quality sprinklers?
Without a doubt. It covers three times the area, reduces farm clutter, and makes harvesting with a scythe or by hand significantly faster and smoother.
Can you buy them pre-made?
Yes, you can actually purchase one every Friday from a secret vendor in the sewers for 10,000 gold, which is a great way to stockpile them if you are bad at mining.
Conclusion
Mastering this layout is the definitive step toward ultimate farm optimization. By understanding the exact grid size, efficiently gathering the high-end materials, and planning your field layouts properly, you can completely eliminate manual watering from your daily routine. Even here in 2026, finding that perfect farm layout remains incredibly satisfying. Ready to redesign your entire property and watch your profits skyrocket? Start crafting today, optimize your grids, and share your most creative farm layouts in the comments below!


Leave a Reply