Beat the Chamber of Insight BG3 Puzzle Fast
Look, if you are reading this, you are probably tearing your hair out over the chamber of insight bg3 trial right now. You are not alone. Just last winter, I was sitting in my flat here in Kyiv during one of our rolling blackouts, playing on my Steam Deck hooked up to a massive power bank. I had finally reached the Wyrmway, feeling totally pumped to find the legendary dragon, and then I hit a brick wall. Specifically, a room full of zooming, untouchable books and three creepy red silhouettes.
Figuring out this exact test of intellect doesn’t have to ruin your momentum or force you into a brutal fight with a bunch of high-level elementals. I am going to walk you through exactly how to catch those annoying flying tomes and pick the correct traitor to smack. The logic behind the puzzle is actually pretty brilliant once you grasp what the developers at Larian Studios were aiming for. Let me break down the fastest, most painless way to secure your victory so you can keep moving forward toward Ansur.
Understanding the Core Mechanics of the Trial
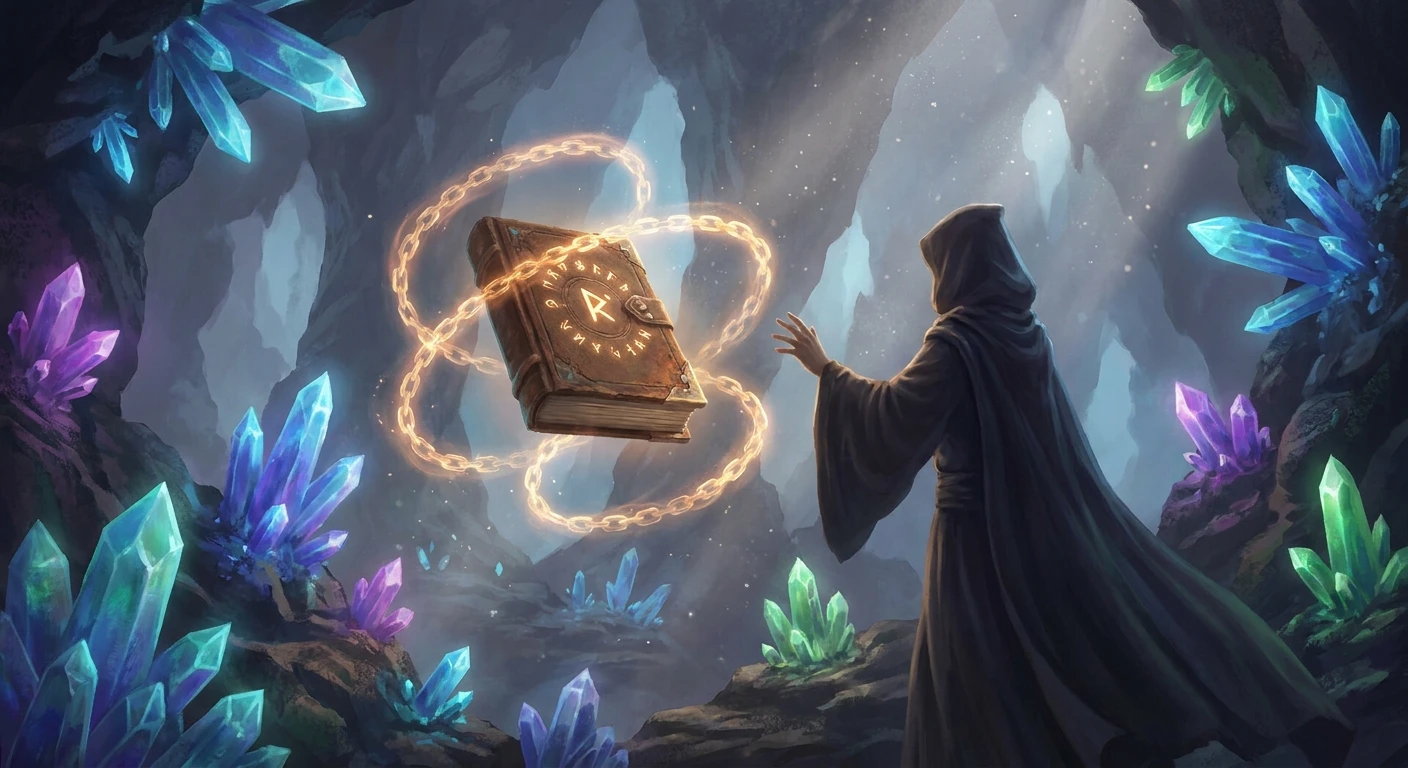
So, what exactly is going on in this glowing cavern? The premise is that Balduran, the legendary founder of the city, needed to ensure only the wisest heroes could access his hidden sanctum. The trial tests your ability to identify bad counsel. You are presented with three advisors, each represented by a glowing red silhouette at the back of the room. Your job is to strike down the one whose advice would lead the city to ruin. But to know what they advise, you have to read their books, which are currently flying around the chasm like enraged bats.
Here is a quick breakdown of the three advisors and their political stances:
| Advisor Name | Counsel Given | Is Traitor? |
|---|---|---|
| Amaps | Promotes peace, equality, and diplomatic resolution to conflicts. | No |
| Sune | Advocates for balanced governance and moderate defensive measures. | No |
| Suelto | Recommends absolute destruction, genocide, and ruling through terror. | Yes |
The value proposition of solving this without brute force is massive. First off, guessing wrong or blindly attacking the silhouettes summons hostile air elementals. You really do not want to burn your spell slots and health potions fighting trash mobs when an undead dragon is waiting for you down the hall. Secondly, passing the trial legitimately just feels incredibly satisfying. To do this right, you need to follow a specific methodology:
- Halt the environmental movement of the flying objects.
- Read the specific texts to gather the necessary evidence.
- Execute a single, decisive strike against the correct target.
By mastering these three phases, you bypass the headache and keep your party fully rested for the real boss fight ahead.
Origins of the Wyrmway
Let me give you a bit of backstory because the lore here is genuinely top-tier. Long before the events of the game, Balduran and his companion, the bronze dragon Ansur, built a secret lair deep beneath the city. Ansur believed that Baldur’s Gate would one day face a threat so immense that only a true hero could save it. To ensure this power did not fall into the hands of absolute tyrants or fools, the dragon constructed four specific trials. The trial of insight was designed specifically to test a leader’s moral compass and their ability to reject violent, extremist rhetoric.
Evolution of Balduran’s Trials
Over the centuries, the magic sustaining these chambers warped. Originally, the trial might have been a simple debate or a literal reading session. However, as the magical wards degraded and the isolation of the cavern took its toll, the physical manifestations of the puzzle became erratic. The books gained a localized sentience, fluttering around desperately. The advisors themselves faded from detailed illusions into the stark, featureless red silhouettes you see today. It is a visual representation of how historical records distort over time.
Modern State of the Puzzle in 2026
Now, even as we sit here in 2026, replayability keeps players coming back to this exact spot. Speedrunners and veterans have completely optimized how they handle this specific room. Nobody actually chases the books anymore. The community has mapped out the exact coordinates and triggers, turning what was once a ten-minute reading exercise into a five-second sequence break. But for a purist playthrough, engaging with the environmental storytelling remains one of the highest points of Act 3’s underground exploration.
The AI Pathing of the Flying Books
From a purely mechanical standpoint, Larian’s engine handles this room in a really fascinating way. The books are treated as flying entities with their own specific AI pathing loops. They do not just move randomly; they follow a scripted spline path above the chasm. The problem most players face is the collision detection. The hitboxes on these moving objects are incredibly tight, and because they are elevated, trying to click them in real-time usually results in your character just walking aimlessly toward the edge of the cliff.
Physics Engine and Collision Detection
The game uses a complex physics engine to calculate the trajectory of thrown objects and spells. When a book is flying, its physical coordinate is constantly updating. If you try to hit it with an arrow or a spell, the engine has to calculate the intersection of your projectile and the book’s moving hitbox. This is why standard attacks often miss or, worse, completely destroy the book. To beat the system, you have to manipulate the environmental states.
- Hitbox scaling: The interactable area shrinks when the object is in high-speed motion, requiring stabilization to interact.
- Action economy: Spells like Command or Hold Monster interact with the entity’s status flags, bypassing the physical armor class.
- Line of sight: The camera angle can obscure the true physical location of the floating entity, causing pathing errors for your party.
- Trigger states: Attacking a red silhouette changes its internal state from ‘neutral NPC’ to ‘hostile trigger’, which immediately scripts the elemental spawn.
Step 1: Enter the Trial Room
When you first walk across the invisible magical bridge, pause for a second. Do not let your entire party run wildly into the room. Keep them grouped up near the entrance. The moment you step too far in, the books start their aggressive flight paths. Take a moment to adjust your camera angle so you have a clear top-down view of the chasm and the floating paths where the books are circling.
Step 2: Activate Turn-Based Mode
This is the most crucial step of the entire process. Hit your tactical pause to enter turn-based mode immediately. Trying to catch the books in real-time is an exercise in pure frustration. By freezing time, you lock the books into their current position on their flight path. This completely removes the headache of the moving hitboxes and gives you infinite real-world time to plan your next move.
Step 3: Cast Command Halt
Switch to a character who has the Command spell. Shadowheart is usually your best bet here. Target the book titled ‘Suelto’s Ethics’ or whichever one is closest to you, and cast Command: Halt. The book has no saving throw against this. It will simply drop to the ground. You can also use a character with high strength to throw another object at the book to knock it down, but Command is the cleanest method.
Step 4: Read Suelto’s Manifesto
Once the book is on the floor, walk over and read it. Do not pick it up into your inventory; just interact with it to read the text. Suelto’s book explicitly argues that the only way to secure an empire is to completely obliterate any opposing factions, leaving no survivors. It is overtly tyrannical, bloody, and clearly the bad advice Balduran warned against.
Step 5: Read Amaps’ Defense
If you want to be thorough, drop Amaps’ book using the same method. You will find that Amaps suggests passing laws that benefit the poor and using diplomacy to handle rival factions. It is textbook good governance. This confirms that Amaps is definitely not the traitor you are looking for.
Step 6: Identify the Red Silhouette
Now move to the back of the chamber where the three red glowing figures are standing. If you hover your cursor over them, you will see their names. Locate the figure labeled Suelto. Double-check the name because hitting the wrong one cannot be undone without reloading a save. Position your strongest physical attacker near this specific figure.
Step 7: Strike Suelto Down
Take your weapon and perform a single basic attack on Suelto’s silhouette. The figure will shatter into light, the torches in the room will flare up, and the trial will officially be marked as complete in your journal. You can now freely exit the room and head toward the next challenge without shedding a single drop of blood.
Myths vs. Reality in the Trial
There is a lot of misinformation out there on the forums about how this room works, so let me clear up a few things.
Myth: You absolutely must read every single flying book to progress the quest.
Reality: You can actually skip catching the books entirely. If you already know from a previous playthrough or from reading a guide that Suelto is the traitor, you can walk straight in and smash her silhouette. The game does not check if you read the books.
Myth: Hitting the wrong silhouette permanently locks you out of the final boss fight and ruins the questline.
Reality: It does not lock you out. It merely spawns a group of hostile elementals. Once you defeat them, the trial is considered passed by combat rather than intellect.
Myth: Magic Missiles is the best way to drop the books because it never misses.
Reality: Damaging the books with destructive magic destroys them completely. Once they are ash, you cannot read them. You must use non-lethal control magic or throwing mechanics.
Who is the traitor in the insight trial?
The traitor is Suelto. Her philosophy revolves around total annihilation and genocide, which goes completely against the protective, heroic ideals of Balduran.
Can I just guess the answer?
You can guess, but you only have a one-in-three chance of getting it right. If you guess incorrectly, you will immediately trigger a combat encounter with powerful air elementals.
How do I catch the books without destroying them?
The safest way is to enter turn-based mode and use the Command: Halt spell. You can also use the Telekinesis spell or have a strong character throw a heavy object near the book to knock it out of the air.
What happens if I attack the books?
If you hit the books with a standard weapon attack or a damaging spell like Firebolt, they will be destroyed forever. You will lose the ability to read the text and figure out the puzzle organically.
Do I need to fight the elementals?
Absolutely not. The entire point of the puzzle is to bypass combat. If you pick the correct silhouette, the trial completes peacefully, saving your resources.
What is the best spell for this room?
Command is undeniably the best spell here. It is a level one spell, costs very little to cast, and works perfectly on the flying entities without dealing any structural damage to them.
Does destroying the books fail the quest?
No, the quest will not fail. You simply lose the clues. You can still attack a silhouette. If you hit the wrong one, you just have to fight your way out of the room.
Where is the insight room located?
It is located inside the Wyrmway, a hidden underground area beneath Wyrm’s Rock Fortress in Act 3. You access it by using lightning damage on the dragon torches in the prison.
Can I use Mage Hand to catch the books?
Mage Hand can sometimes interact with the environment, but it struggles with the moving hitboxes just as much as a regular character. Turn-based mode is still required.
Is there any unique loot in this chamber?
There is no major legendary loot inside this specific side room, but completing it is mandatory to open the final door leading to the legendary Helm of Balduran and the boss encounter.
Wrapping this all up, conquering this specific test is just a matter of working smarter, not harder. You do not need to rely on lightning-fast reflexes or heavy firepower. Just freeze time, drop the text, identify the warmonger, and strike. If this guide saved your sanity, share it with your co-op party members and go claim that dragon loot!



Leave a Reply