How to Find Zevlor BG3: Your Essential Walkthrough
For players looking to successfully Find Zevlor BG3 features a highly specific hidden path in Act 2 that causes endless frustration. You are definitely not the only player wandering around the Shadow-Cursed Lands wondering where the charismatic tiefling commander vanished. Right after you leave the Emerald Grove and hit the road to Baldur’s Gate, his trail goes completely cold. You expect him to show up at the Last Light Inn alongside the other weary refugees, but he is conspicuously absent. Missing out on his location means losing a valuable paladin ally for the ultimate endgame battles and missing a huge chunk of emotional narrative closure.
This comprehensive guide is your ultimate companion to tracking him down. You need to understand the exact triggers, locations, and narrative gates that hide him away deep beneath Moonrise Towers. The game does not hold your hand here, and wandering aimlessly through the prison levels will only get your party eliminated or thoroughly confused. Instead, you need a precise sequence of events to unlock the hidden biological facility where he is being held captive by the Absolute’s forces. Securing his freedom requires advancing the main plot, defeating a major boss phase, and navigating the treacherous Mind Flayer Colony without making a fatal mistake at the pod controls.
Read also: Guide: Where is Zevlor BG3 Located; Defeating Balthazar BG3: A Complete Boss Strategy Guide.
Core Mechanics of the Rescue Mission
Let us break down exactly what happens when you successfully execute the mission to rescue the missing commander. The benefits of locating him extend far beyond just checking off a quest marker in your journal. You secure a vital asset for the endgame alliance, ensuring you have powerful divine smites on your side when you finally assault the Netherbrain. Furthermore, understanding the layout of his fleshy prison gives you distinct tactical advantages for the fights ahead.
There is a massive value proposition for completing this exact sequence. First, saving him allows you to hear his side of the story regarding the brutal ambush in the shadow curse, granting deep narrative context for the tiefling storyline that you cannot get anywhere else. Second, having him as an active ally later provides a massive combat buff, as his Hellrider abilities can turn the tide of the final battle with their defensive auras and area-of-effect healing capabilities.
Here is a detailed breakdown of the potential outcomes when dealing with his captivity:
| Objective Decision | Specific Location | Reward or Consequence |
|---|---|---|
| Rescue the Captive | Mind Flayer Colony Pods | Gains a powerful paladin ally for the final confrontation. |
| Purge the Pod System | Tadpoling Center Terminal | He perishes instantly in a flood of acid, failing the quest entirely. |
| Ignore the Area Completely | Moonrise Towers Underground | He is transformed into a mind flayer later, denying any closure. |
To execute the rescue properly, follow these primary non-negotiable steps:
- Reach the conclusion of the main Moonrise Towers infiltration and confront the primary antagonist on the rooftop apex.
- Jump down into the Hollow Tower opening to physically enter the Mind Flayer Colony area beneath the main fortress.
- Locate the Tadpoling Center in the northern section of the biological labyrinth and interact with the Neural Apparatus to release all captives safely.
Failing to follow these exact steps will lock you out of the encounter permanently. You cannot sequence-break this section; the narrative gates are hard-coded into the area transitions. The game specifically prevents early access to the colony. Even if you explore the Oubliette thoroughly during your initial scouting of Moonrise Towers, the physical entrance to the Tadpoling Center remains sealed shut. You simply must push the main narrative forward.
Origins of the Tiefling Refugees
To fully appreciate why locating this commander matters so much, you have to look back at the dark history of Elturel. Before the events of the game, the entire holy city was dragged down into Avernus, the brutal first layer of the Nine Hells. The commander served as a high-ranking Hellrider, an elite order of paladins sworn to protect the city at all costs. When Elturel finally fell and was miraculously returned, the tieflings were violently blamed by the surviving human populace due to their infernal heritage and horns. Forced out of their homes under threat of death, they became wandering, impoverished refugees. This tragic exile set the stage for their desperate journey toward Baldur’s Gate, seeking safety from brutal persecution and the ever-encroaching shadow curse.
Evolution of Zevlor’s Leadership
During the harrowing trek, he stepped up to lead the terrified civilians, transforming from a disgraced military soldier into a reluctant, overburdened savior. His leadership style is heavily characterized by deep anxiety, constant self-doubt, and a fierce, almost blinding protective instinct. When you first meet him in the Emerald Grove, he is entirely overwhelmed, dealing with hostile druidic politics, supply shortages, and impending goblin threats. His evolution throughout Act 1 shows a man pushed to the absolute brink, making desperate deals just to keep his people alive for one more day. This crushing heavy burden ultimately leads to his fatal psychological break when the caravan is suddenly ambushed by cultists in the Shadow-Cursed Lands, where he freezes under immense pressure.
Modern State in Act 2 and Beyond
By the time you reach Act 2, his status has drastically shifted from active community leader to missing captive. The remaining tieflings shivering at the Last Light Inn feel incredibly betrayed, believing he cowardly abandoned them to the slaughter. Resolving this plotline is the only possible way to learn the truth of that chaotic ambush. He did not flee out of pure malice; his mind was severely assaulted by the Absolute’s overwhelming psionic domination. Completing this rescue allows him to face his cowardice directly, seek genuine redemption, and return to his modern state as a fiercely loyal, albeit deeply flawed, ally ready to fight for the city’s survival.
Technical Layout of the Tadpoling Center
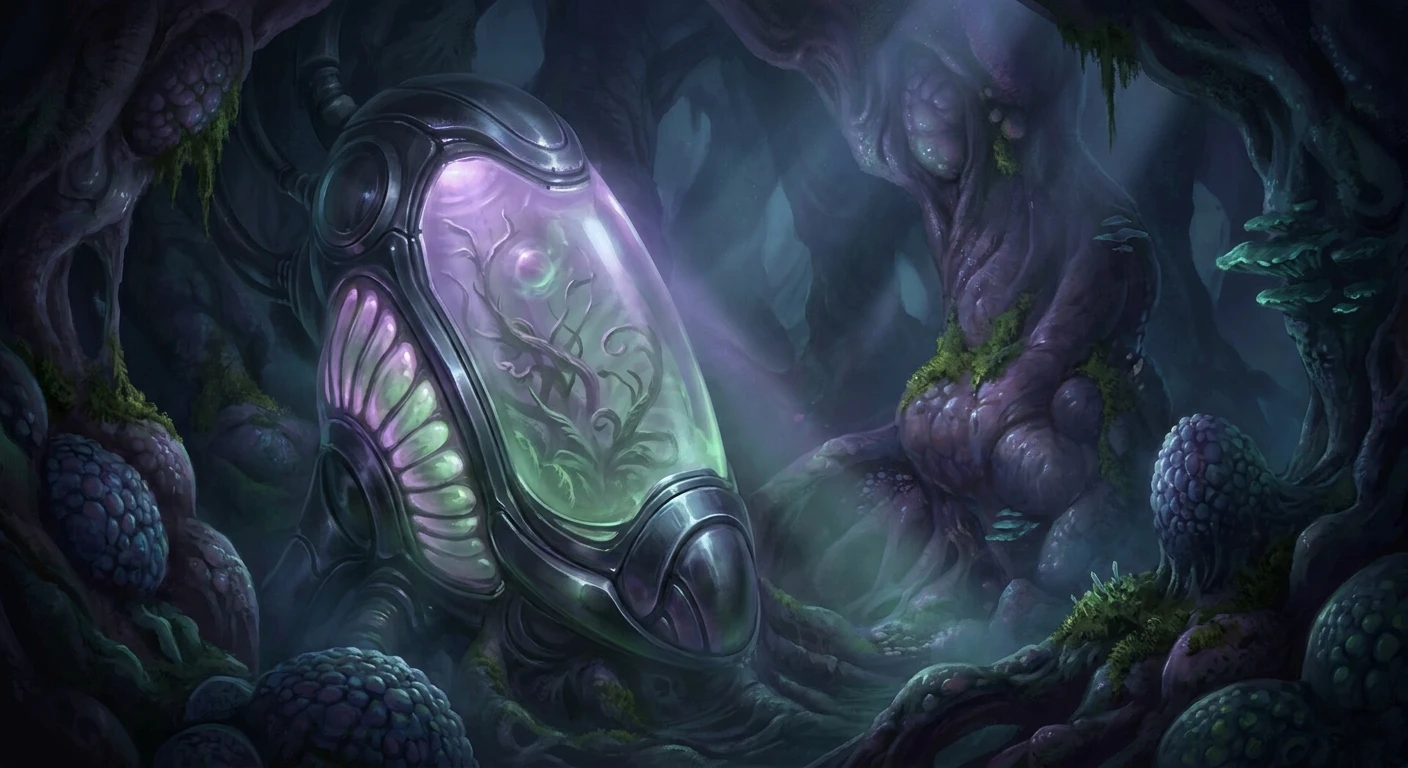
The illithid technology keeping him trapped is a biomechanical nightmare, operating on horrific principles that seamlessly blend living flesh with arcane machinery. The Tadpoling Center specifically functions as a gruesome assembly line for ceremorphosis, the process of turning humanoids into mind flayers. The vast room features multiple organic stasis pods arrayed in a circular, glowing formation around a central, pulsing control node. This node, known as the Neural Apparatus, acts as the primary brain interface for the entire room’s functionality. The chamber is heavily guarded by creeping intellect devourers and fully formed mind flayers actively monitoring the transformation cycles. The physical layout forces you to navigate elevated flesh platforms while avoiding the psionic sightlines of the guards patrolling the lower brine pools below the pods.
Combat Mechanics and Pod Release Systems
Operating the complex illithid technology requires understanding exactly how the neural interface processes commands. You do not just push a mechanical button; your character must mentally interface with the organic console. The system gives you two distinct psychic pathways: release or purge. Choosing purge sends a lethal necrotic shock through the containment brine, instantly liquefying all occupants. Choosing release opens the biometric seals, but it also frees the already-transformed hostile mind flayers trapped in adjacent pods, immediately triggering a high-stakes, chaotic combat encounter.
- Stasis Fluid Composition: The pods are filled with a specialized chemical brine that forcefully suspends the occupant’s biological aging while rapidly accelerating the brain parasite’s incubation period.
- Neural Connectivity Protocols: The central control terminal links directly to your character’s cerebral cortex; having high intelligence stats or existing illithid powers can provide extra dialogue context.
- Ceremorphosis Timing: The machinery intentionally pauses the final physical transformation, keeping subjects in a state of agonizing limbo until the Absolute demands a fresh army.
- Psionic Shielding Defense: You absolutely cannot shatter the pod glass with physical weapon attacks or elemental spells; the organic material effortlessly absorbs kinetic energy completely.
Step 1: Secure the Emerald Grove
Your journey actually begins much earlier in Act 1. You must ensure you defeat the three goblin leaders and secure the absolute survival of the tiefling refugees. If they do not survive the hazardous road to Baldur’s Gate, the commander will not be present in the shadow lands at all, rendering this entire rescue mission impossible.
Step 2: Navigate the Shadow-Cursed Lands
Progress carefully through the dark, oppressive terrain until you safely reach the Last Light Inn barrier. Speak directly with the surviving tieflings, specifically Cerys or Rolan, to officially receive the quest to locate the missing refugees. This adds the necessary journal markers to track your progress.
Step 3: Infiltrate Moonrise Towers
Head to the towering fortress and masquerade as a loyal True Soul. While you can explore the dank prisons and the terrifying Oubliette, you will quickly realize the main target is not located in the standard iron holding cells. Do not waste your time trying to clip through impenetrable walls here.
Step 4: Confront Ketheric Thorm on the Rooftop
Push the main storyline heavily by completely resolving the Gauntlet of Shar. Once the Nightsong situation is finalized, lead the frontal assault on Moonrise Towers. You must battle Ketheric Thorm on the highest roof until a massive, fleshy tentacle violently breaks through the stone floor.
Step 5: Descend into the Mind Flayer Colony
Jump bravely down the fleshy chasm left behind by the retreating tentacle. You are now strictly locked into the colony environment. Ensure your party is fully buffed and healed, as you absolutely cannot travel back to your camp for a long rest in this hostile red zone.
Step 6: Locate the Tadpoling Center
Navigate straight north from your initial landing point, passing the grim Chop room. You will eventually enter a massive chamber filled with glowing green pods. You will easily spot your target trapped inside one of the right-side containers, visibly struggling against the fluid.
Step 7: Operate the Neural Apparatus
Approach the central console carefully. Save your game immediately. Interact with the terminal and purposefully select the mental option to open the pods. Prepare for immediate, intense combat, as you will need to fight alongside the newly freed paladin against the hostile mind flayers that drop out of the adjacent cells.
There is a lot of widespread misinformation floating around the community regarding this specific questline. Let us clear up the confusion so you do not accidentally ruin your meticulous playthrough.
Myth: You can find him locked in the prison cells before the rooftop fight begins.
Reality: He is never located in the standard Moonrise Towers prison block. Only the lower-ranking tieflings and deep gnomes are held there. The commander is strictly locked behind the post-rooftop colony section.
Myth: Purging the pods rewards you with unique, highly powerful illithid parasite specimens.
Reality: Hitting the purge button violently kills everyone inside, giving absolutely zero unique loot. It simply fails the rescue quest, kills a valuable ally permanently, and leaves you with useless piles of ash.
Myth: If you ignore the pod room and fight the final boss of Act 2, he frees himself later.
Reality: The game considers the quest permanently failed if you proceed to the Myrkul elevator without interacting with the pods. He will die quietly off-screen, and you will never see him again.
Can the commander survive if you ignore the pods?
No, completely ignoring the Tadpoling Center guarantees his grim off-screen death. You must manually operate the console to release him.
Where exactly is the neural apparatus located?
It is located right in the northernmost chamber of the Mind Flayer Colony, elevated on a central flesh platform overlooking the room.
Do I need a specific physical key for the pods?
There is no physical key required. The console operates entirely via a direct neural link requiring a specific dialogue choice.
Is the paladin hostile when initially released?
He is initially disoriented from the brine but will immediately join your side to fight the newly spawned illithid enemies.
Can I save the other NPCs trapped in the pods?
Yes, alongside him, several Flaming Fist soldiers and other captured characters will drop out and actively assist in the chaotic fight.
Does the commander actually help in the final battle?
Absolutely. If fully rescued, he becomes a highly valuable summonable ally in the game’s climax, providing excellent healing and damage buffs.
What happens if he unfortunately dies in Act 1?
If he perishes at the Emerald Grove during the early goblin conflicts, this entire sequence is bypassed, and another minor NPC takes his place in the pods.
Tracking down this complex, emotionally scarred character adds incredible depth to your Baldur’s Gate 3 adventure. The tactical combat, the massive emotional payoff, and the lucrative endgame rewards make locating him through the gruesome illithid colony completely worth the extreme effort. Do not let him rot forever in biological stasis—load up your best save file, step bravely into the shadows, and bring the fallen Hellrider home!




Leave a Reply